
These are the scenarios you write and run in the console. The CLI has its own saved scenarios, which your AI coding agent writes into your repository. The two are separate.
How a scenario is built
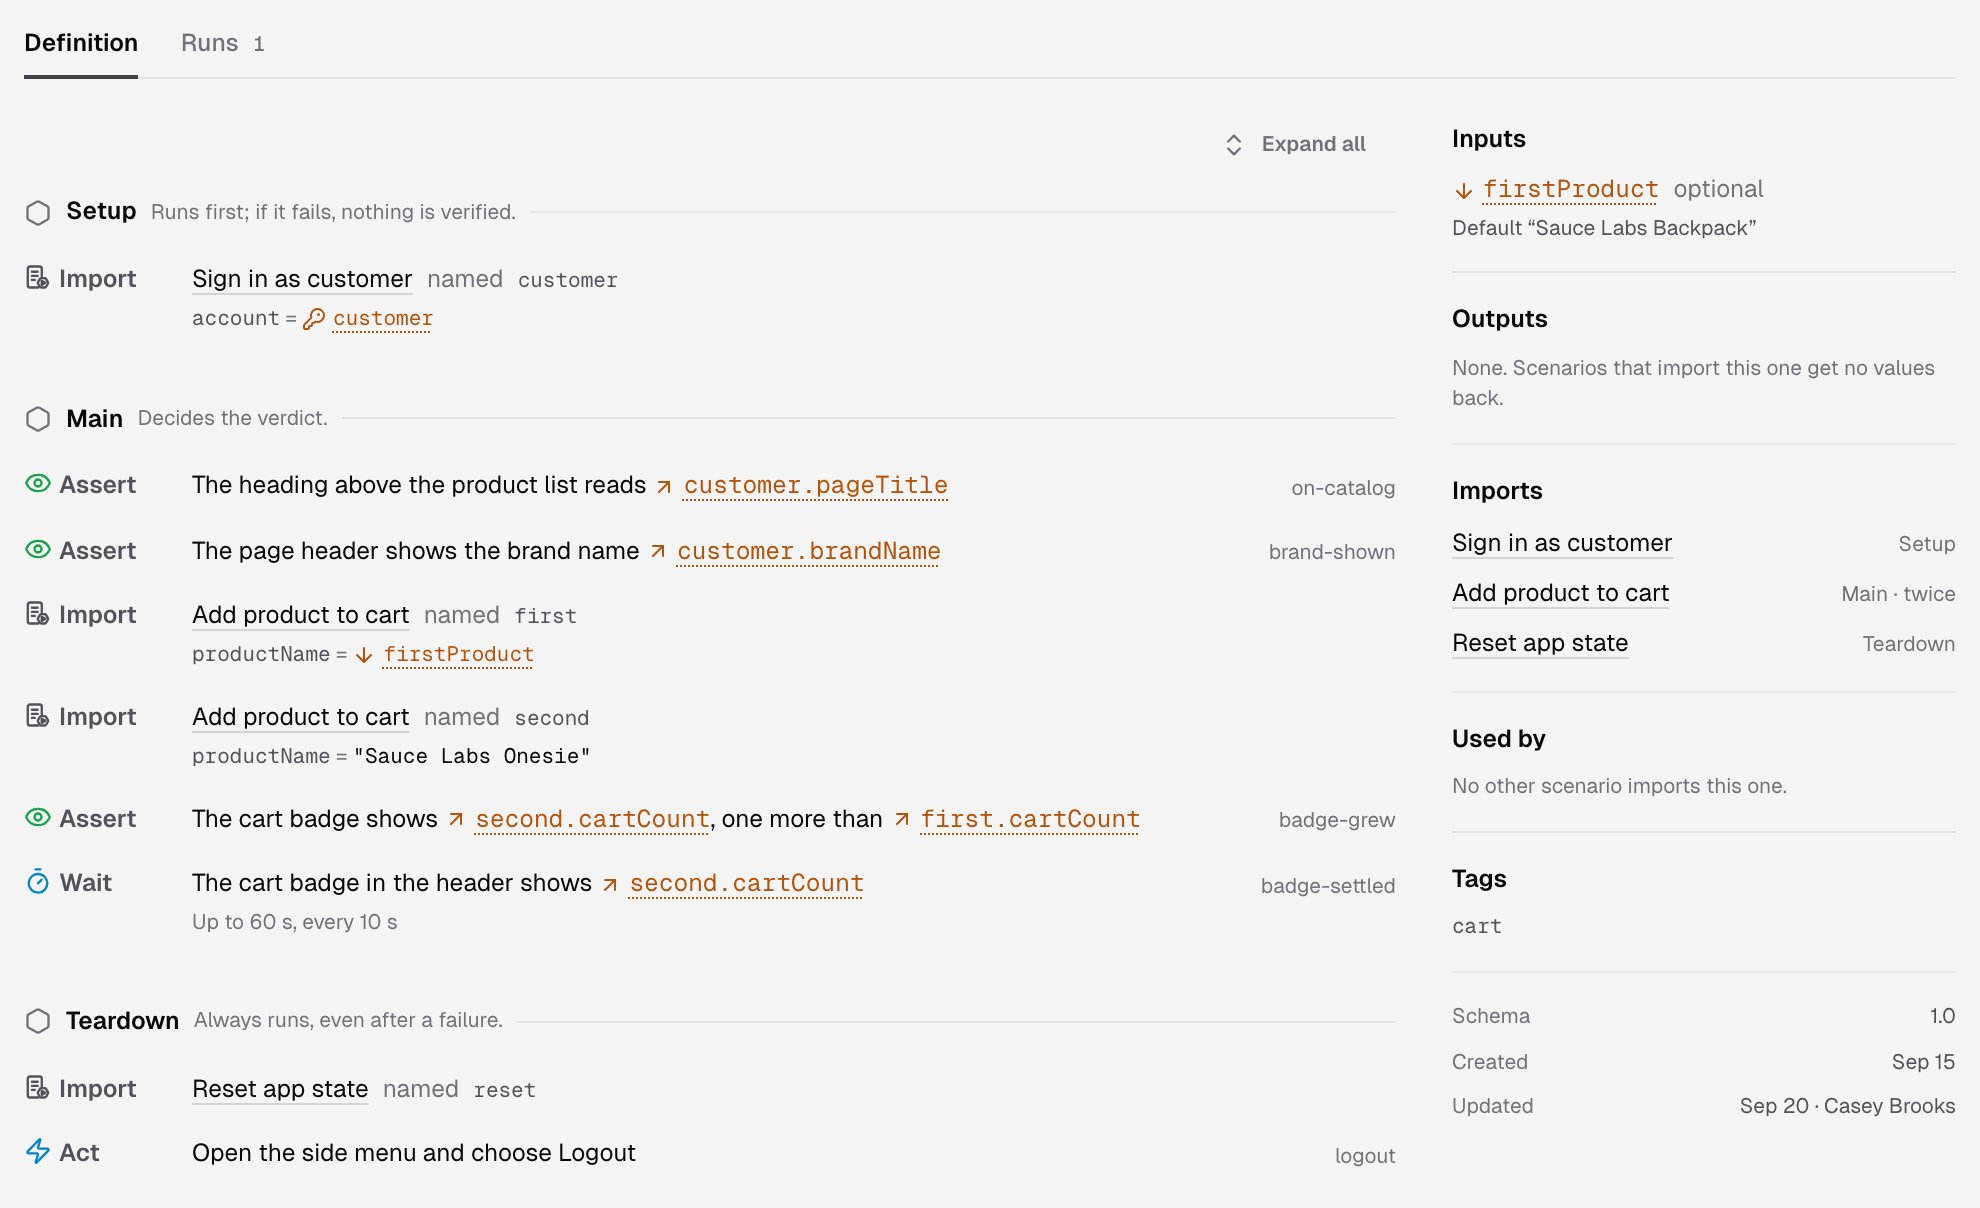
A scenario has three sections:
Each section holds rows:
- actions: Act, Assert, Extract and Wait
- Step, which groups rows under a name
- Import, which runs another scenario’s Main in this one
The Scenarios page
Click Scenarios in the sidebar. The page lists every project in your account: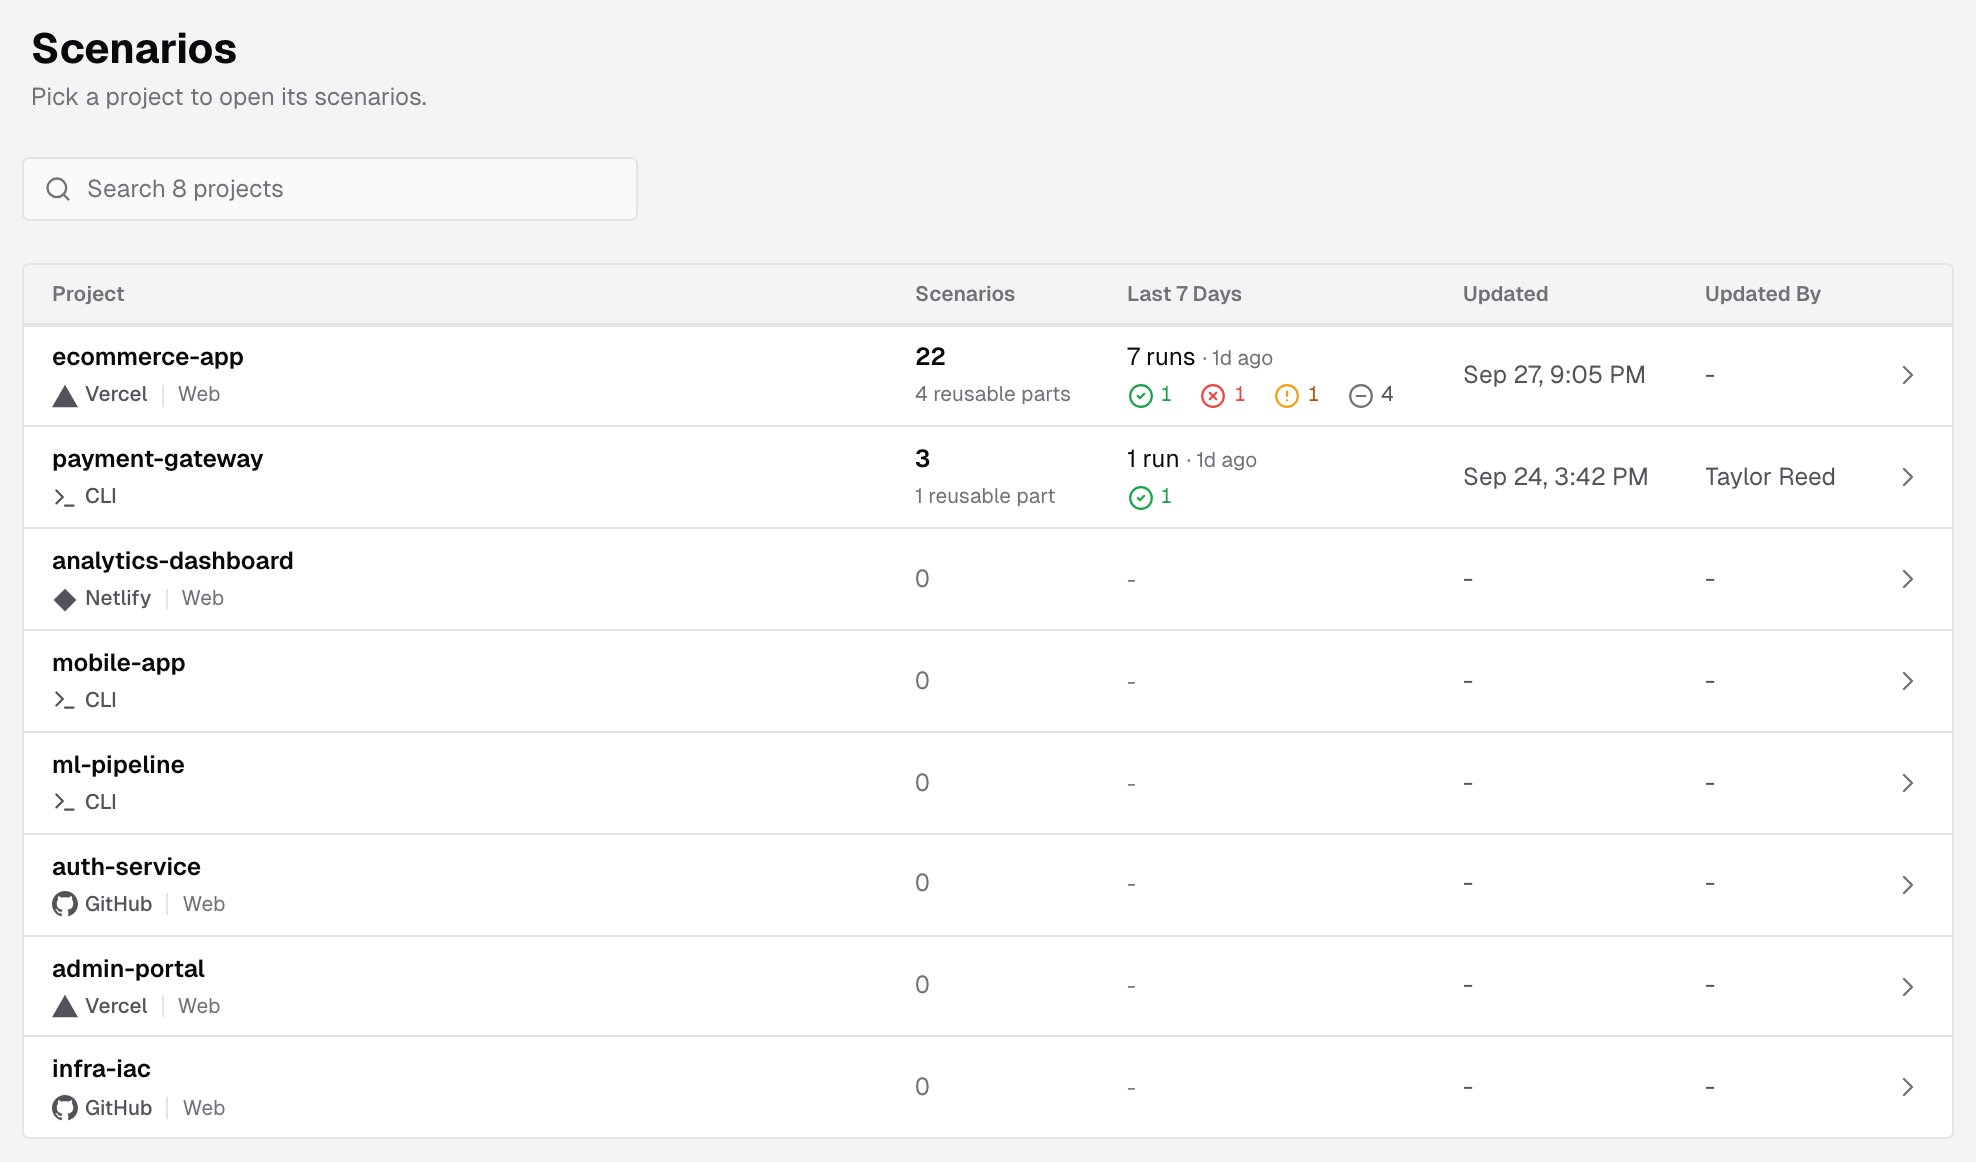
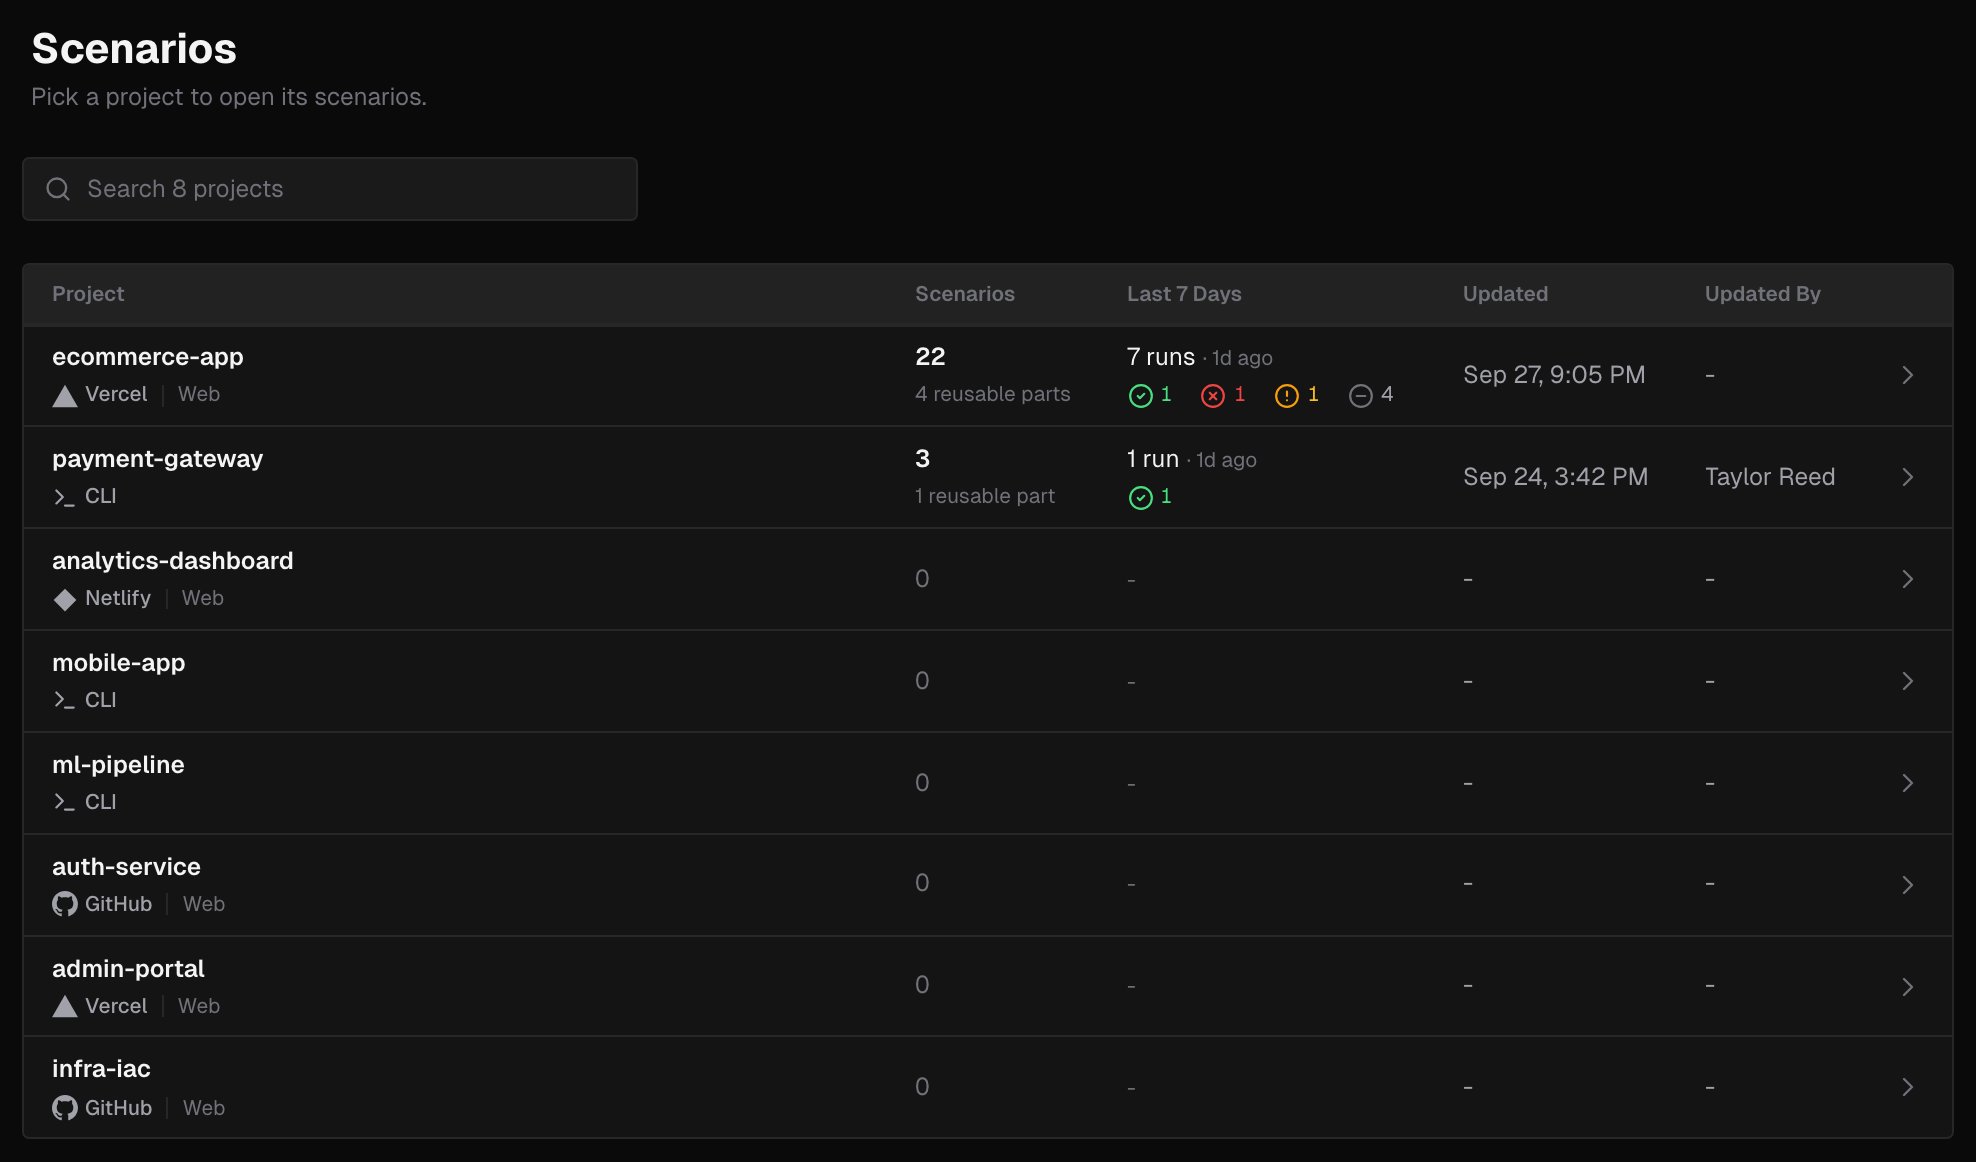
The projects with the most recent scenario changes come first. Search to filter the list by project name or provider.
A project’s scenarios
Open a project and click its Scenarios tab.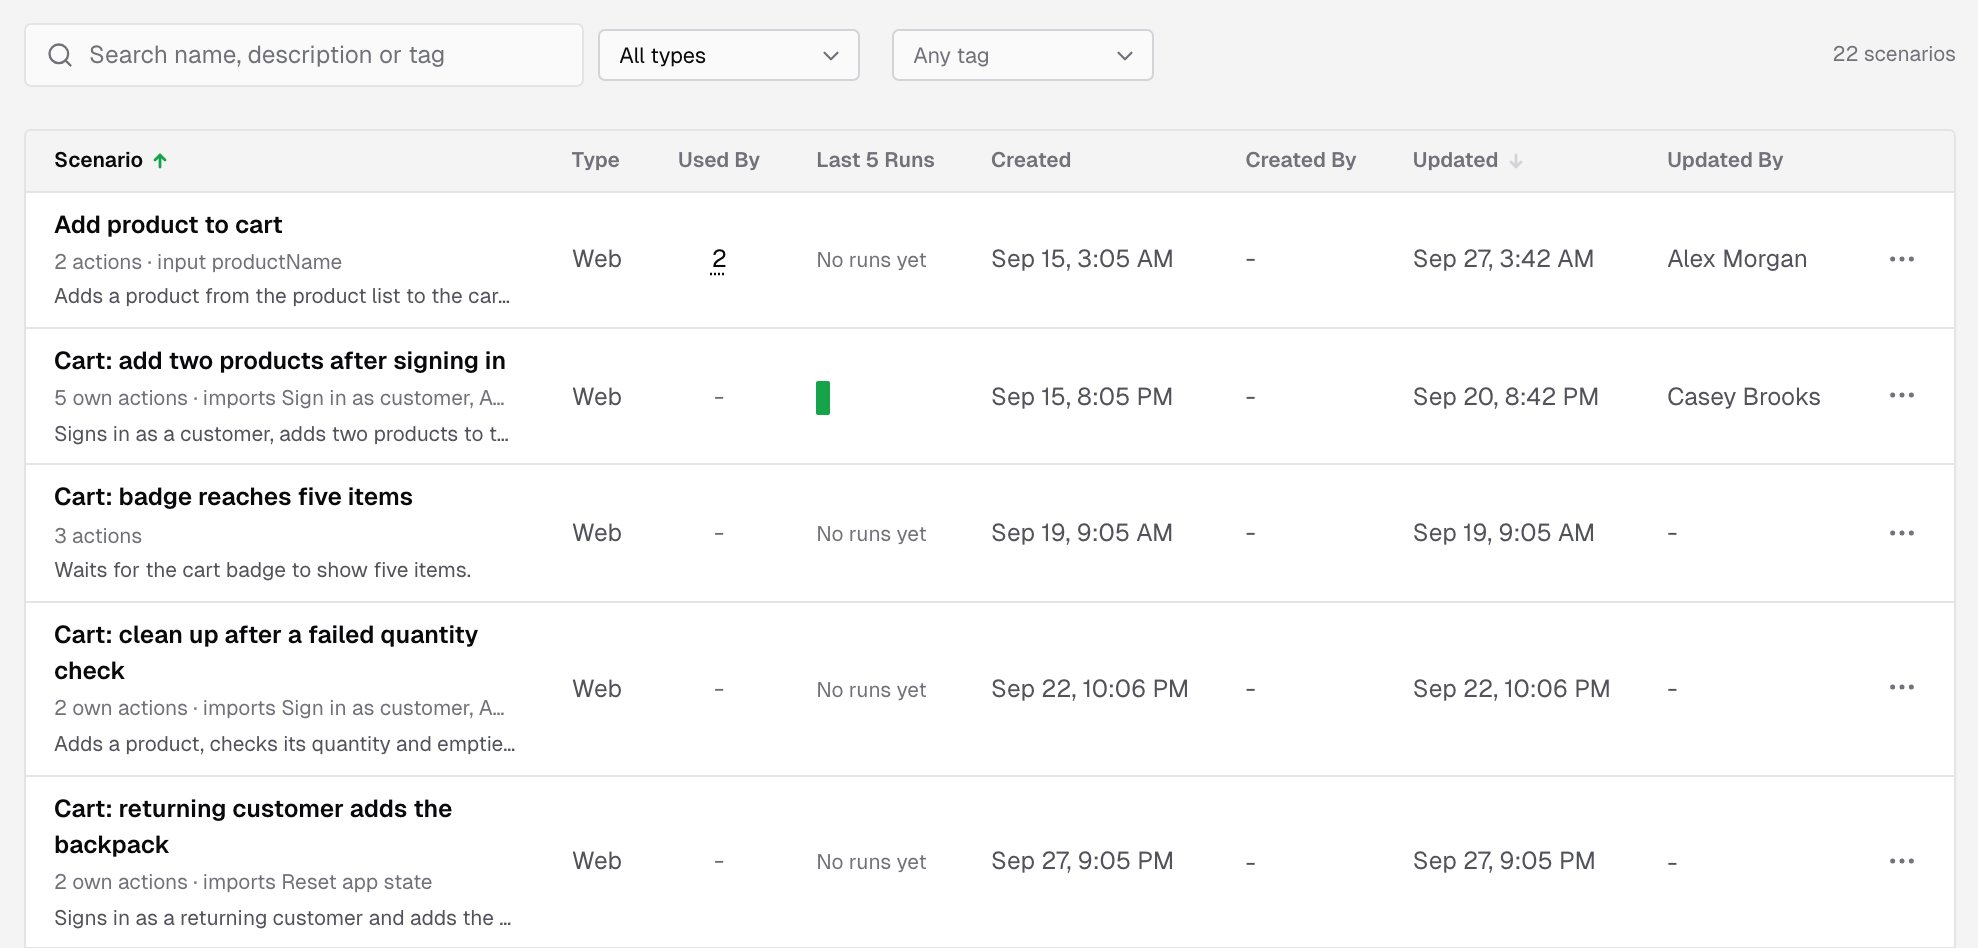
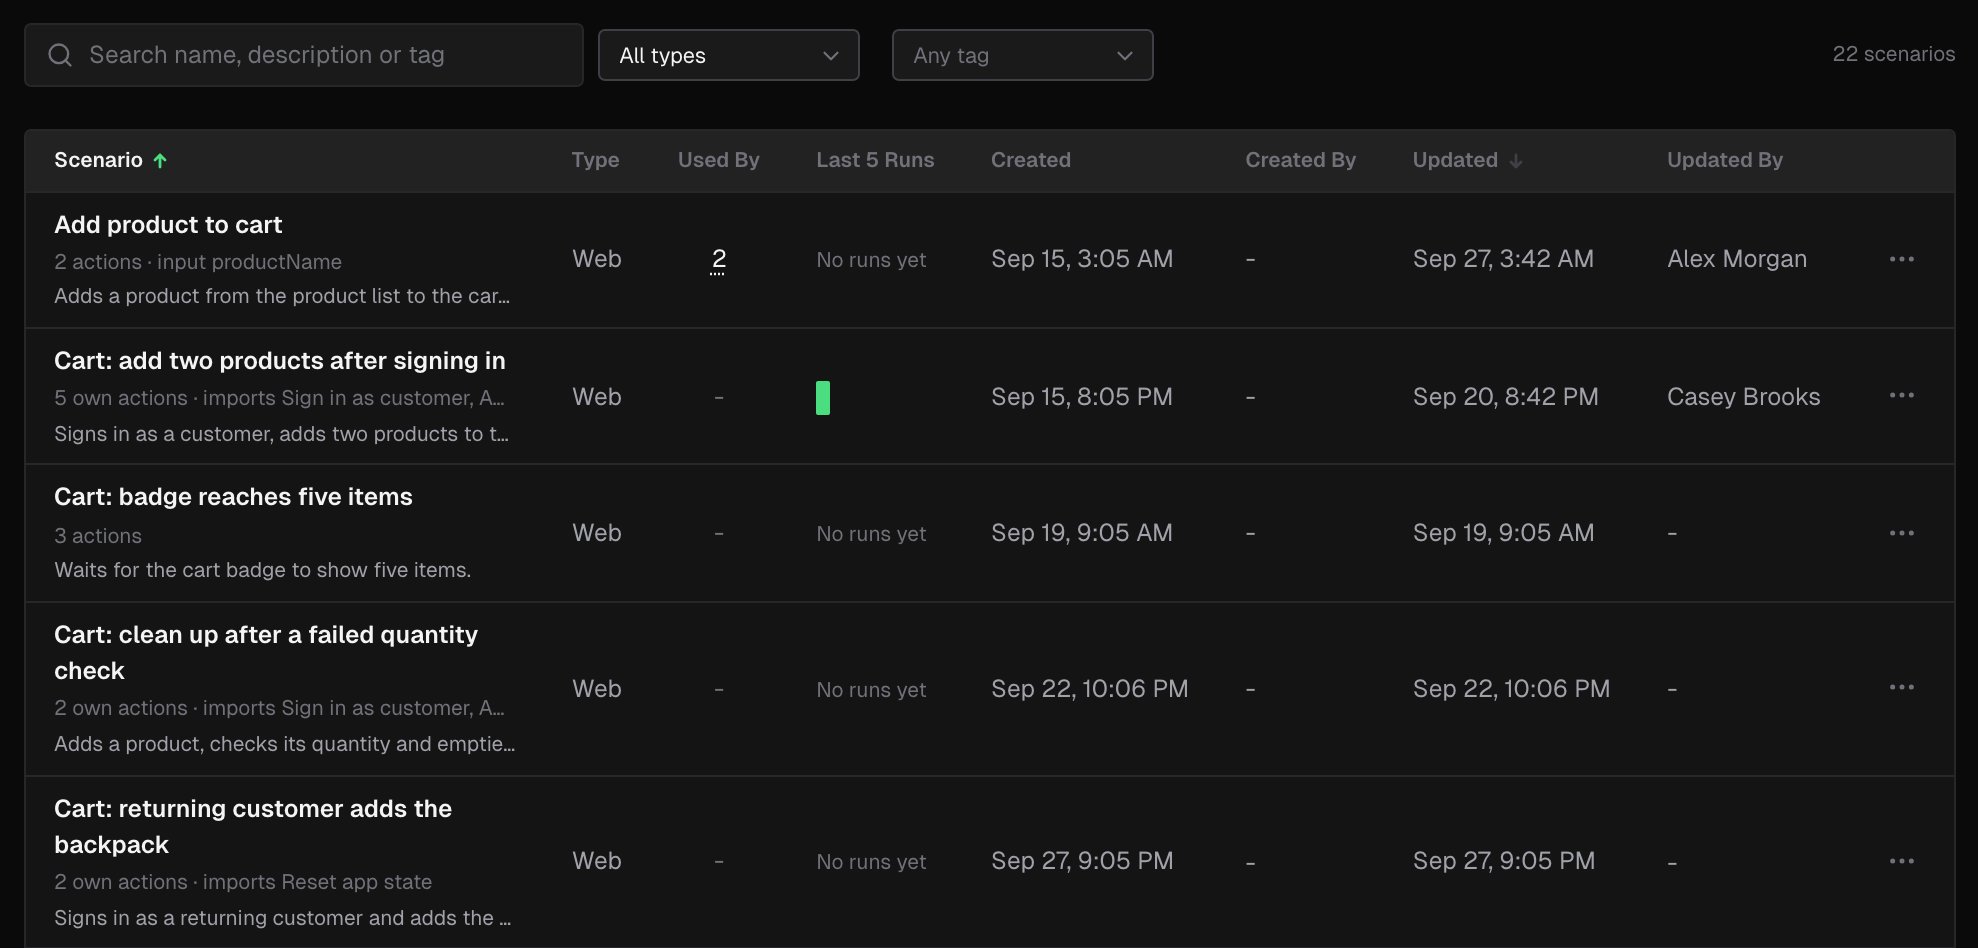
To narrow the list:
- Search by name, description or tag.
- Pick a type: All types, Web or API.
- Pick tags from Any tag. The list shows the scenarios with any of the selected tags.
- Click Clear filters to start over.
The scenario page
Click a scenario to open it. The header shows its type, how many actions it runs (including the ones its imports bring) and how many scenarios it imports. Use Edit to open the editor, Run scenario to run it, and the … menu to Duplicate or Delete it.Definition
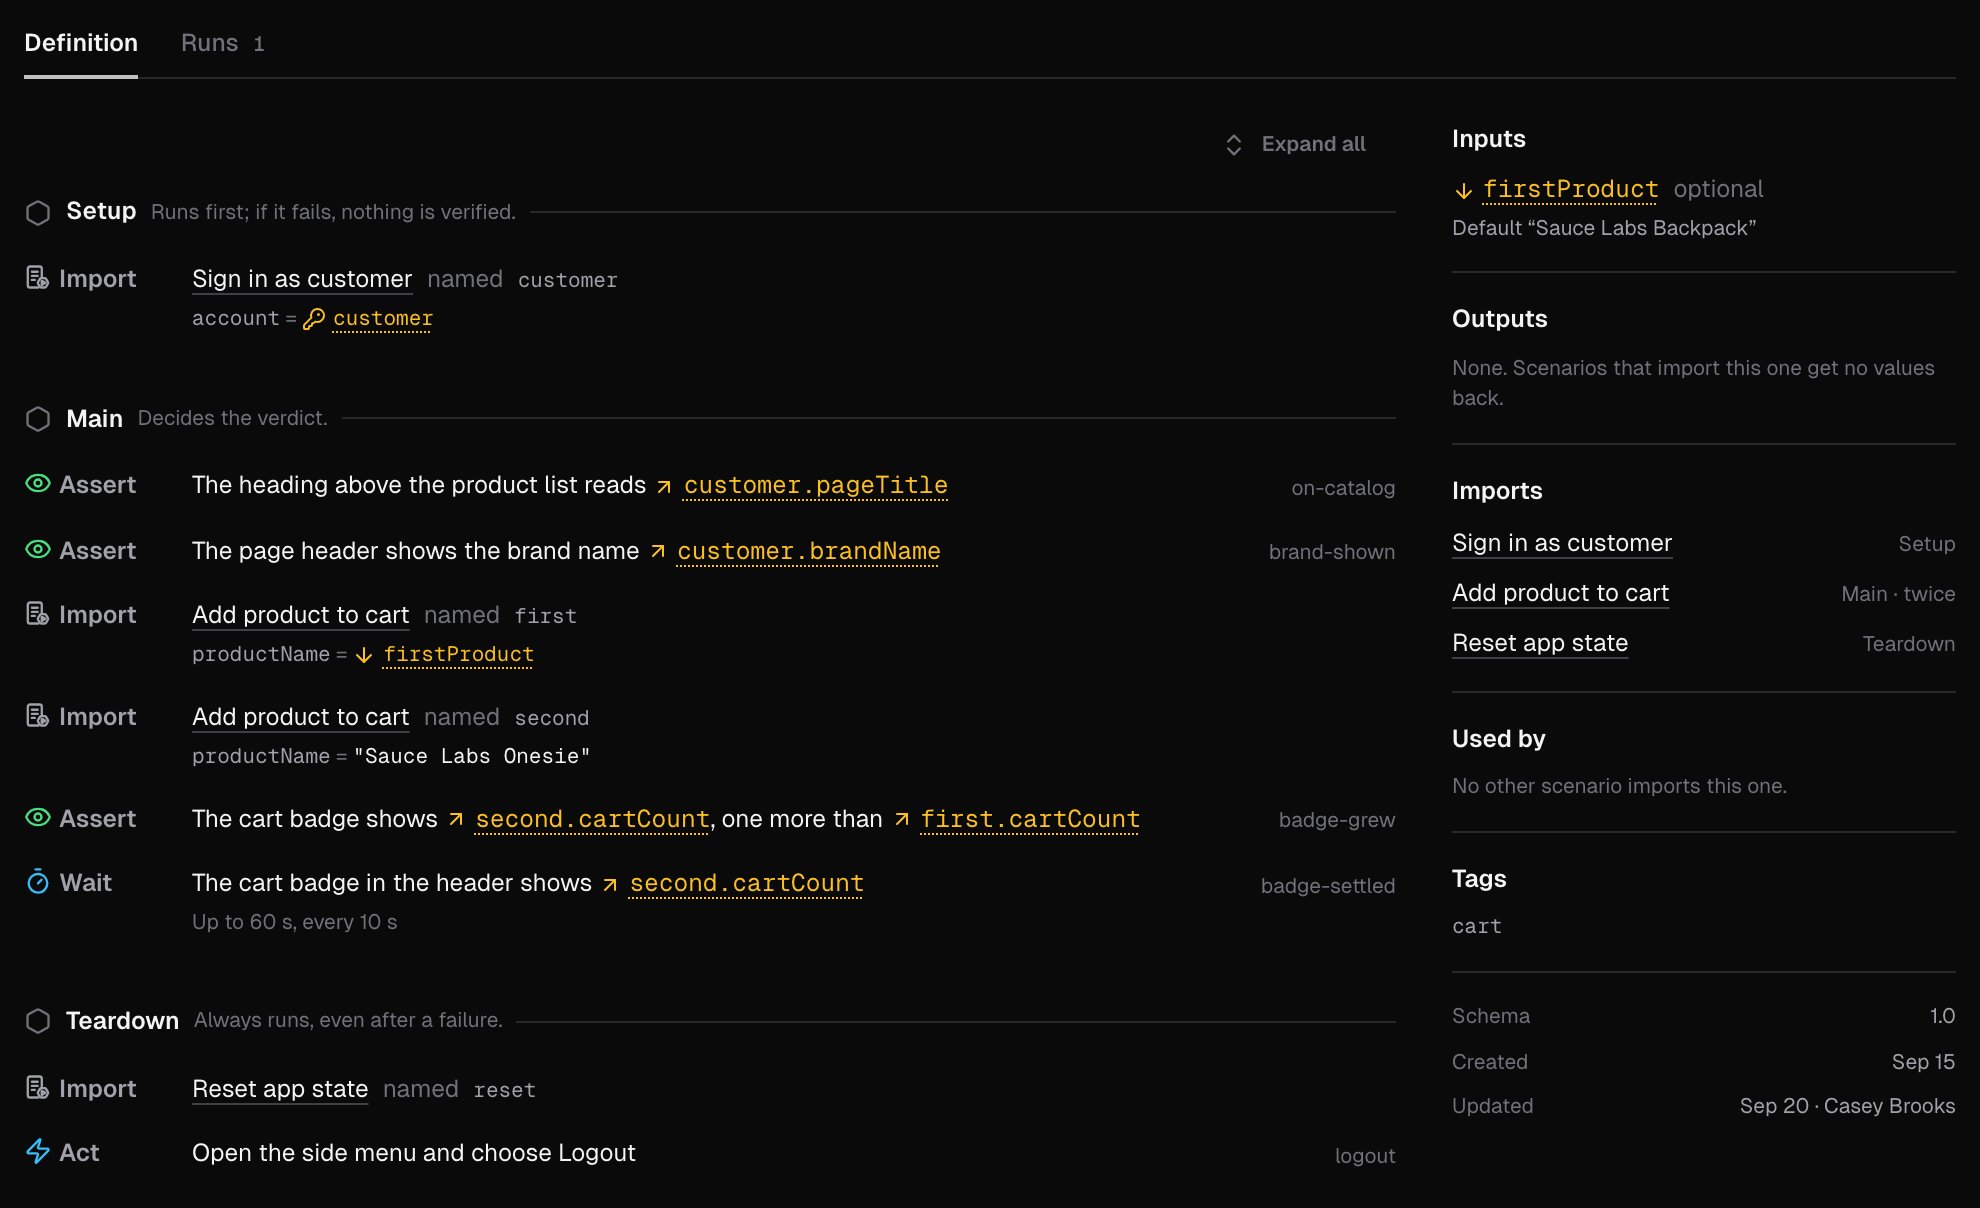
The Definition tab shows the scenario section by section. Each row shows its kind, its instruction and its name. Some rows show their settings on a second line:- Soft, does not block the verdict on a soft assert
- the number of retries on an Act
- Up to 60 s, every 10 s on a Wait
Runs
The Runs tab lists every run of the scenario with its result, with the same columns as the Verifications list and one more, Version:- Current: the run used the scenario as it is now.
- Older, with a count of changes: the scenario changed after the run.
Create a scenario
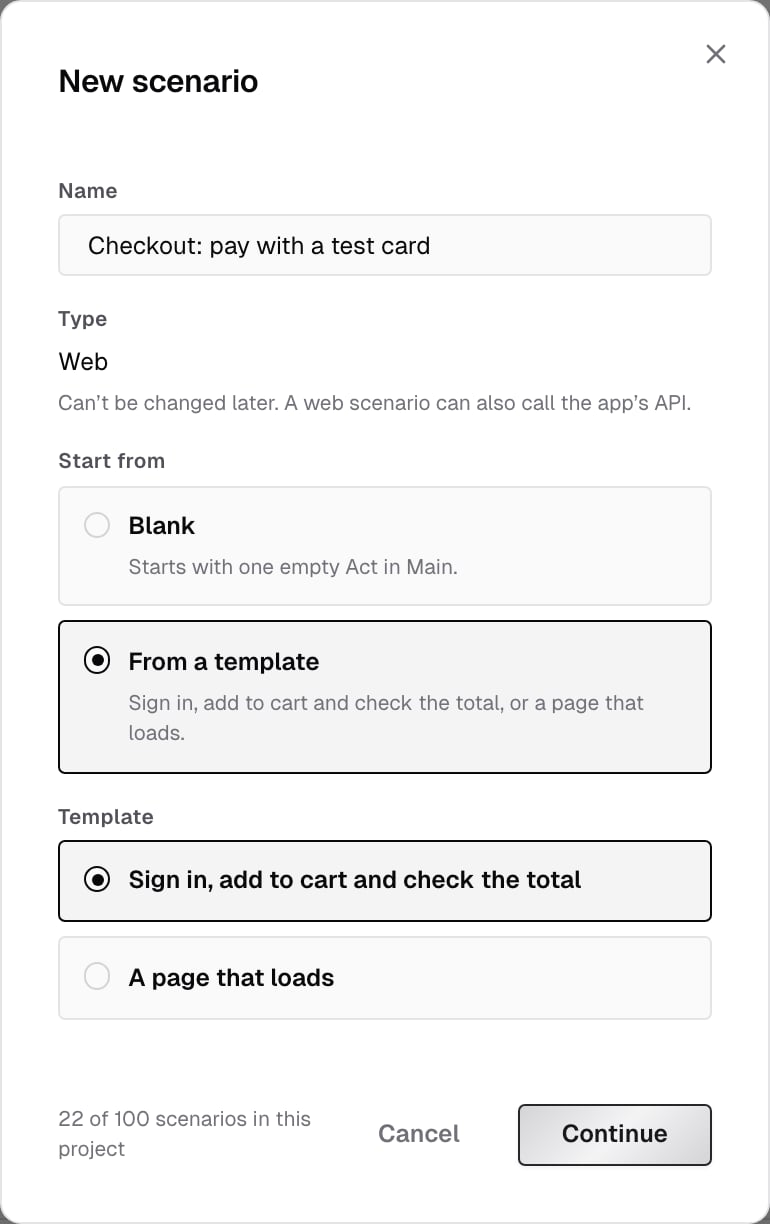
- On the project’s Scenarios tab, click New scenario.
- Type a Name. Names are unique in a project.
- Pick the Type, Web or API. Only the types the project runs are offered, and you can’t change the type later. A web scenario can also call the app’s API.
-
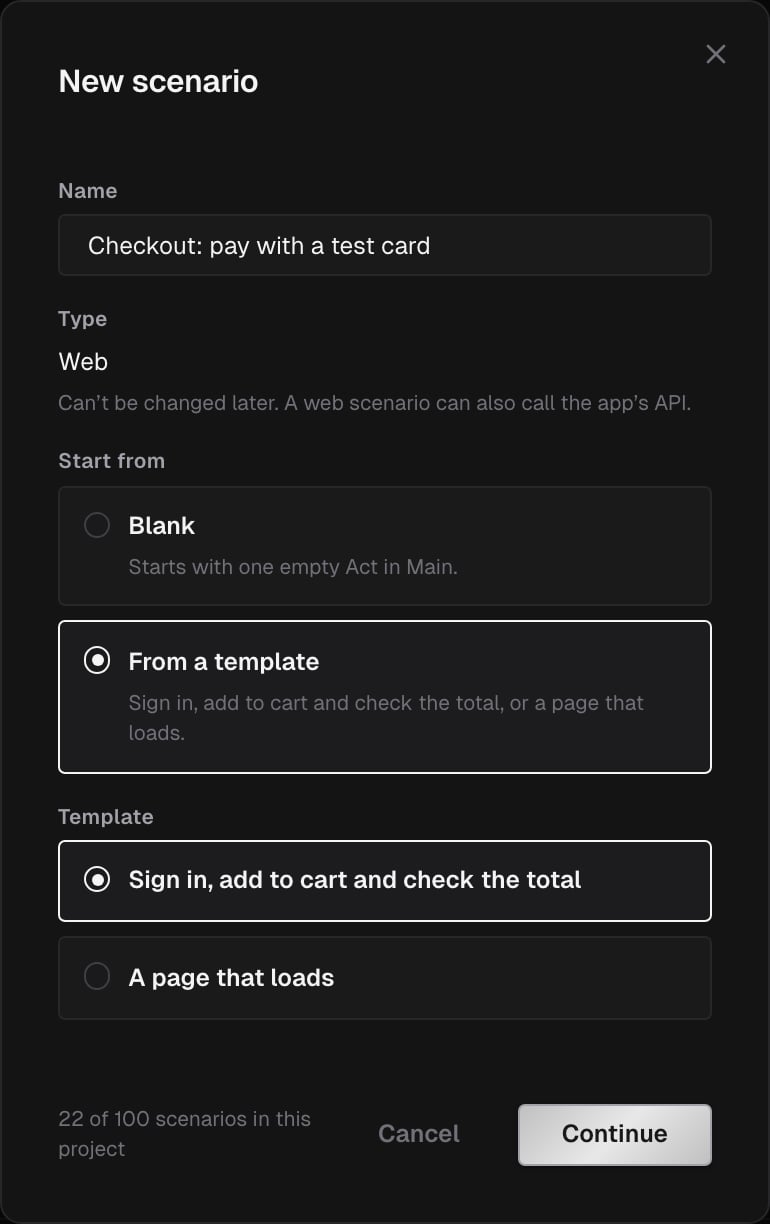
Under Start from, pick Blank, which starts with one empty Act in Main, or From a template:
- Sign in, add to cart and check the total signs in during Setup, adds a product and checks the cart total in Main, and empties the cart in Teardown.
- A page that loads opens the home page, waits for its main content and checks that no error is shown.
- Click Continue. The editor opens on the new scenario. Nothing is saved until you click Save changes.
Duplicate or delete a scenario
Duplicate opens the editor on a copy, named after the original with (copy) at the end. The copy is saved when you click Save changes. Delete asks you to confirm with Delete scenario. Deleting can’t be undone:- The scenario’s past runs keep their copy of it and stay in Verifications.
- If another scenario imports it, the dialog lists them and you can’t delete it. Remove the import from those scenarios first.
Who can change scenarios
On an archived project, scenarios are read-only and can’t be run. See Roles.
What’s next?
Write a scenario
Sections, actions, settings and saving in the editor.
Run a scenario
Pick an environment, pass inputs and read the run.