

ironbee login creates one for you.
Open Settings, then Personal > OAuth Tokens.
For CI and deployment tooling, where no one signs in, use the shared account API key instead.
The tokens list
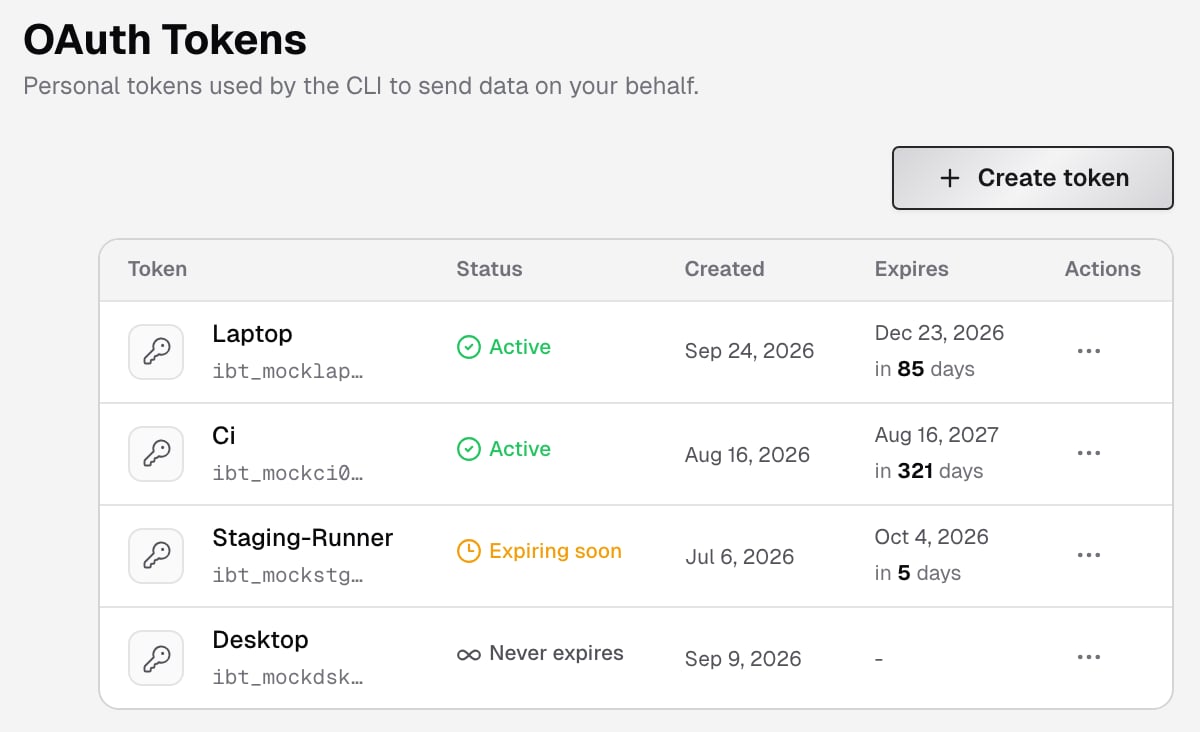
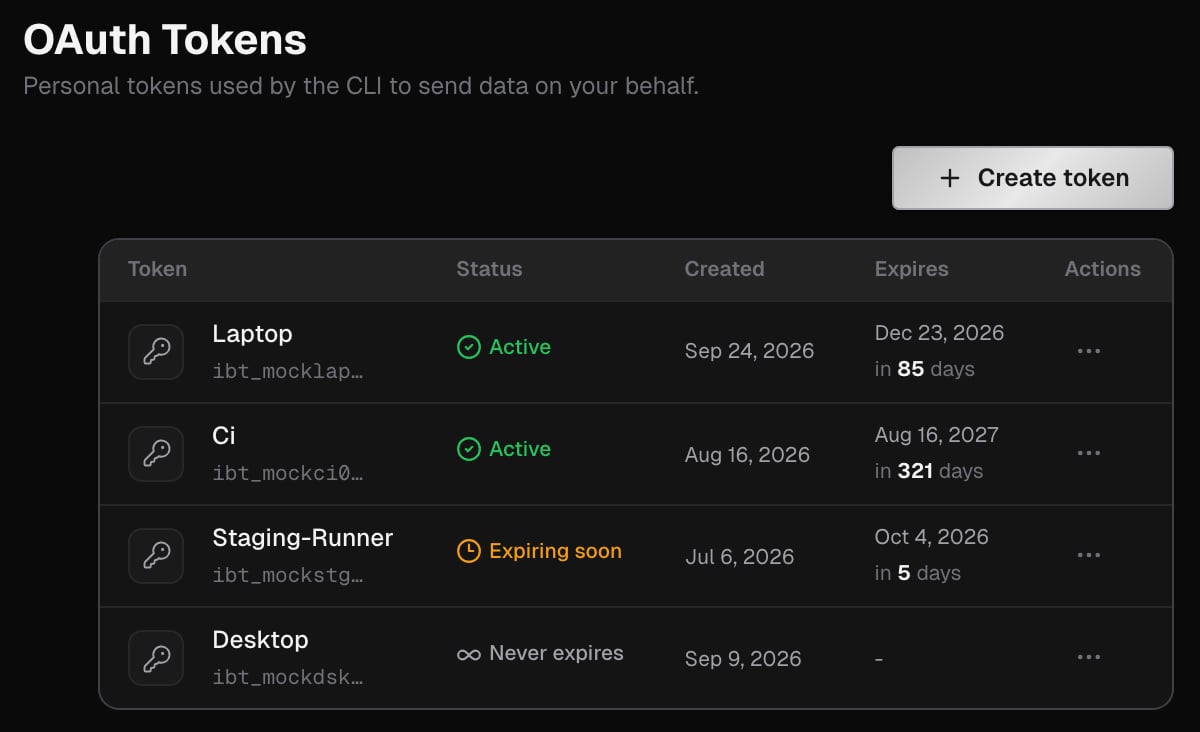
Create a token
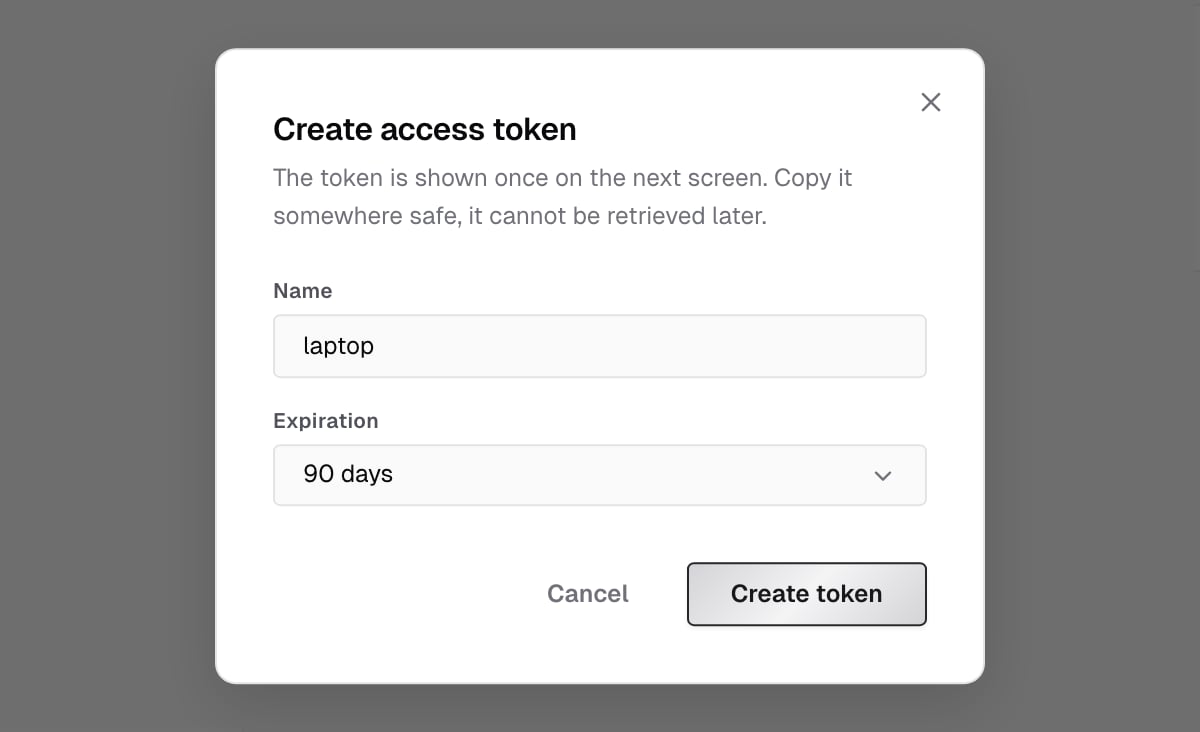
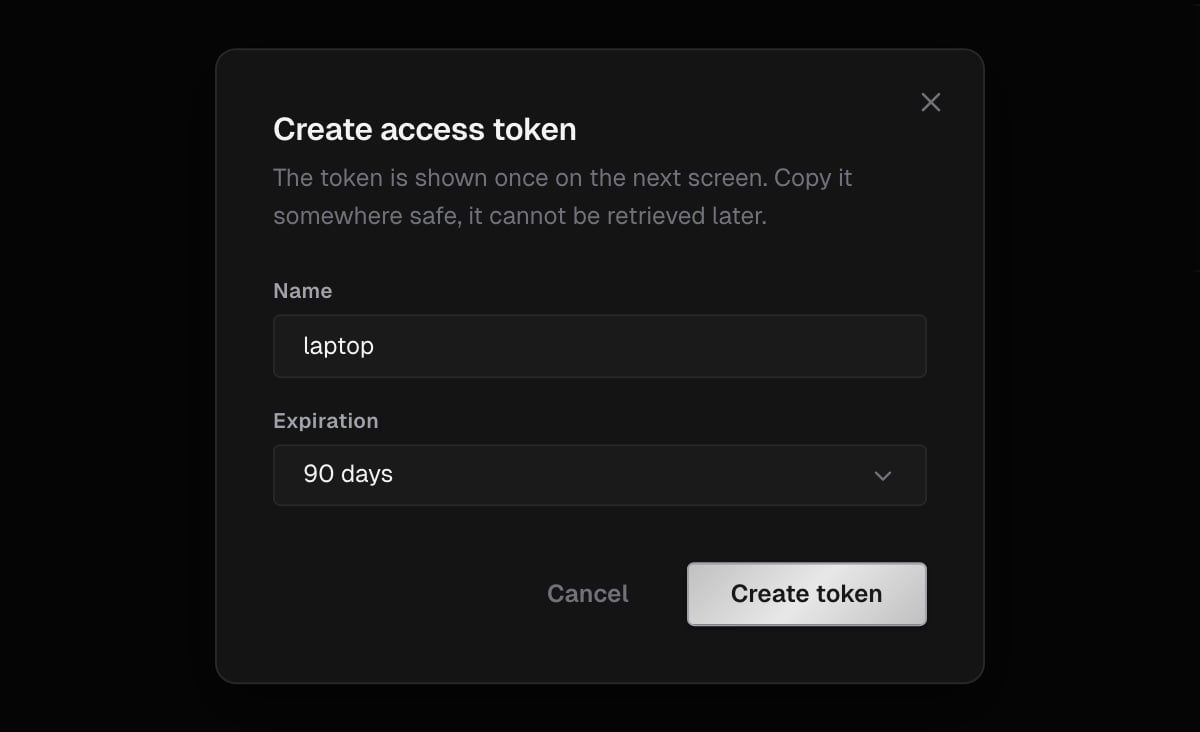
- Click Create token. The Create access token dialog opens.
- Enter a Name, such as
laptoporci. - Choose an Expiration: 30 days, 60 days, 90 days (the default), 180 days, 1 year or No expiration.
- Click Create token.
ironbee login creates expire after 90 days. They’re named after your machine’s hostname, or the label you pass with ironbee login --name.
Revoke a token
Open the token’s ⋯ menu in the Actions column, choose Revoke, and click Revoke in Revoke this token?. The token stops sending data within a few minutes. This can’t be undone.Related pages
CLI authentication
How the CLI signs in and which credential it uses.
Account
The shared account API key for CI.