
- opens the deploy
- reads what the pull request changed
- exercises the affected flows
Prerequisites
- A Netlify team with sites that build deploy previews or branch deploys from a GitHub repository.
- The owner or admin role on your IronBee account.
- The IronBee GitHub App. It’s recommended for every repository and required for private ones:
- It lets the run check out a private repository.
- It finds the pull request behind a branch deploy.
- It posts the result on the pull request as a check and a comment.
Step 1: Install the extension
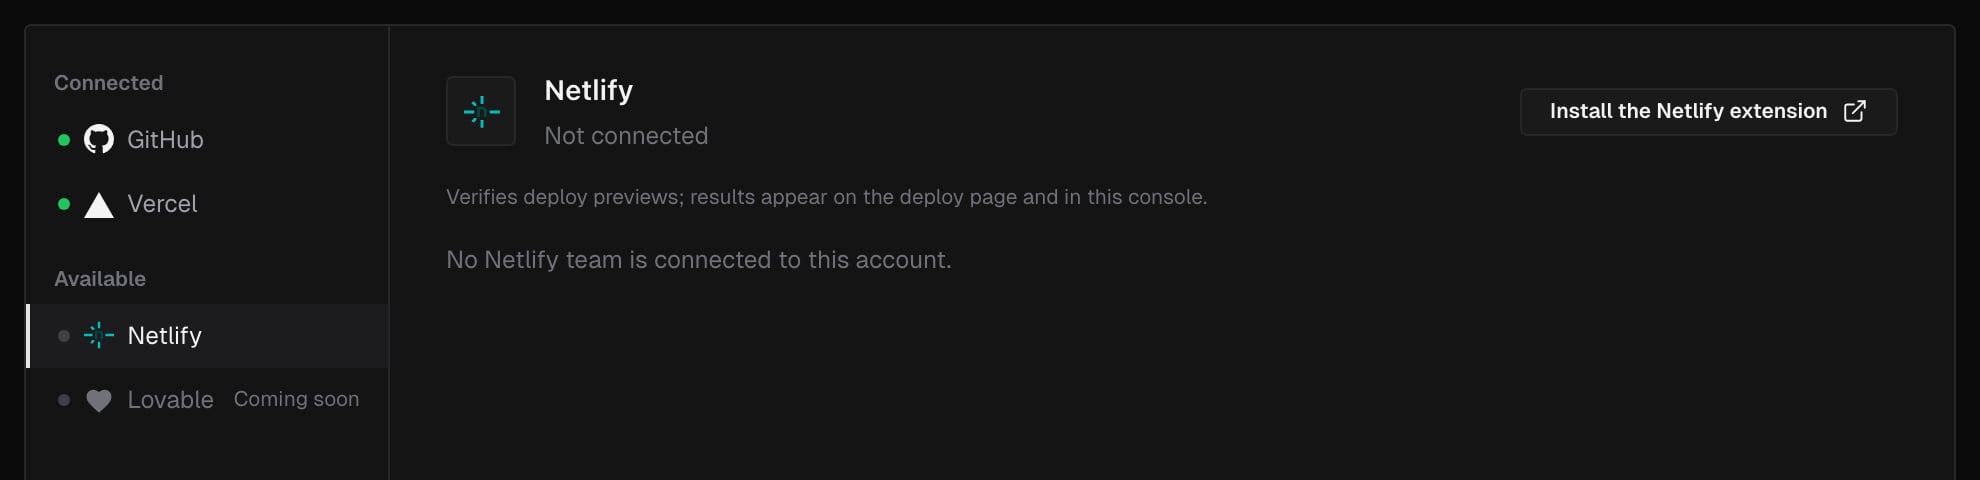
In the console, open Integrations in the sidebar, select Netlify, and click Install the Netlify extension. It opens the IronBee extension on Netlify in a new tab. Install it on your team.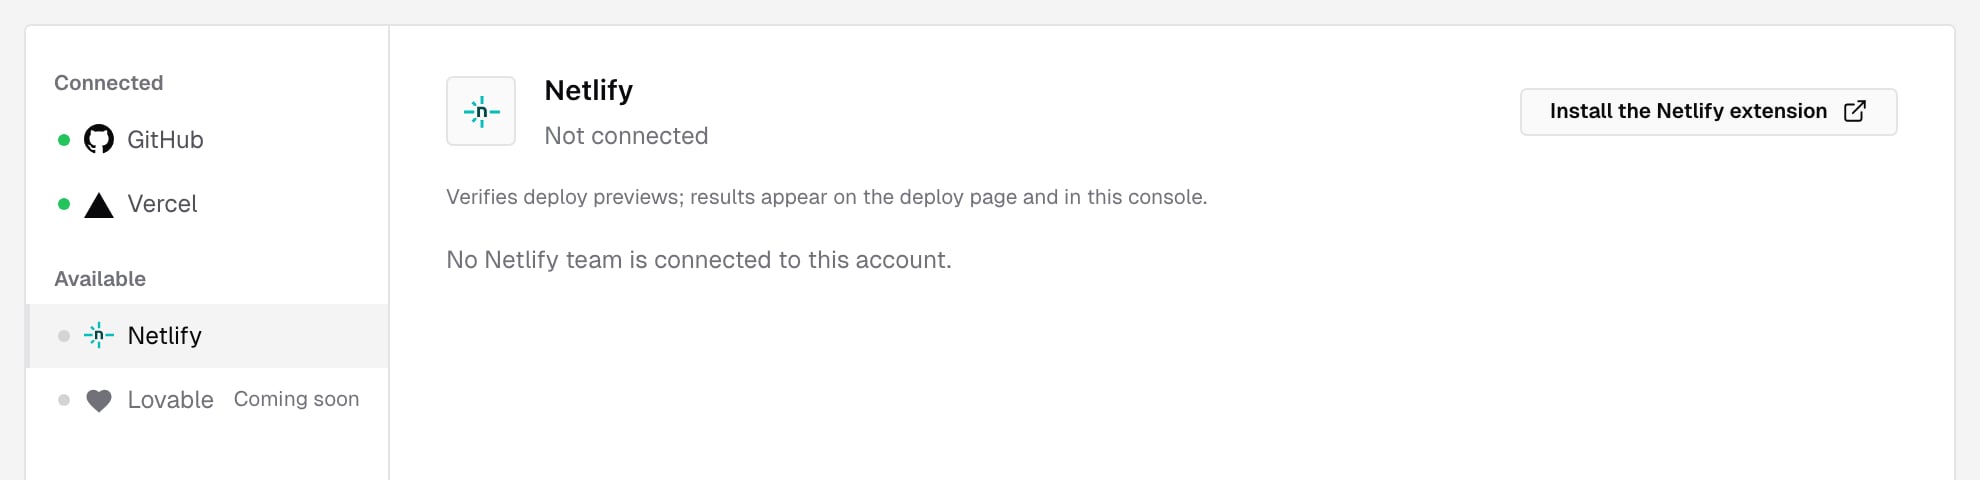
Step 2: Connect the team to your IronBee account
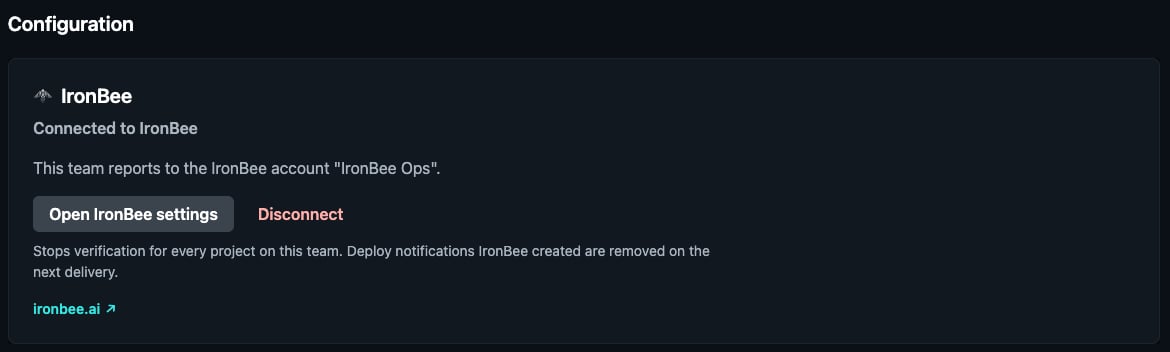
- On Netlify, open your team’s Extensions > IronBee and click Connect to IronBee, then Open IronBee.
- On Connect Netlify to IronBee, check the Netlify team, pick the IronBee account its results go to, and click Connect.
- You are connected confirms it. Click Back to Netlify, then I have connected, refresh on the extension. To pick the sites to verify in the console right away, click Enable sites instead.
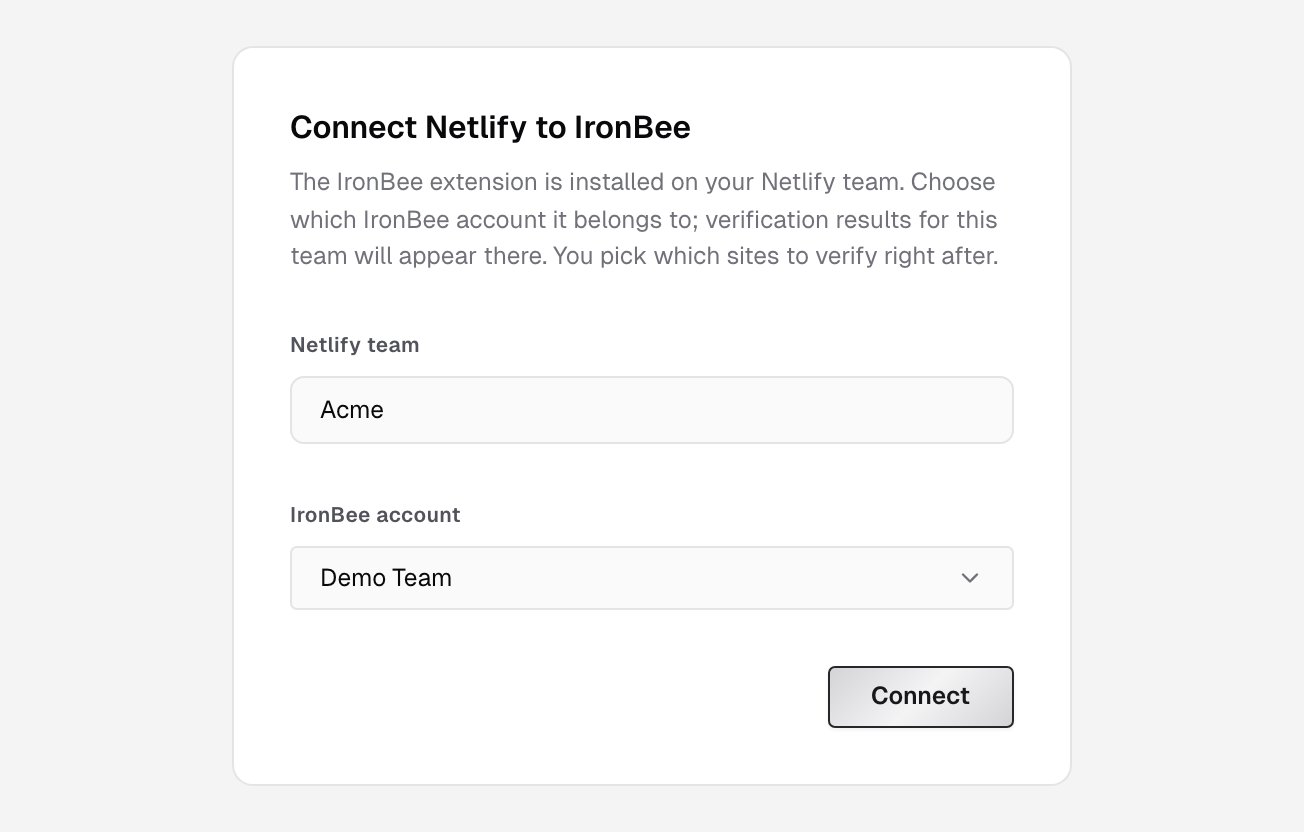
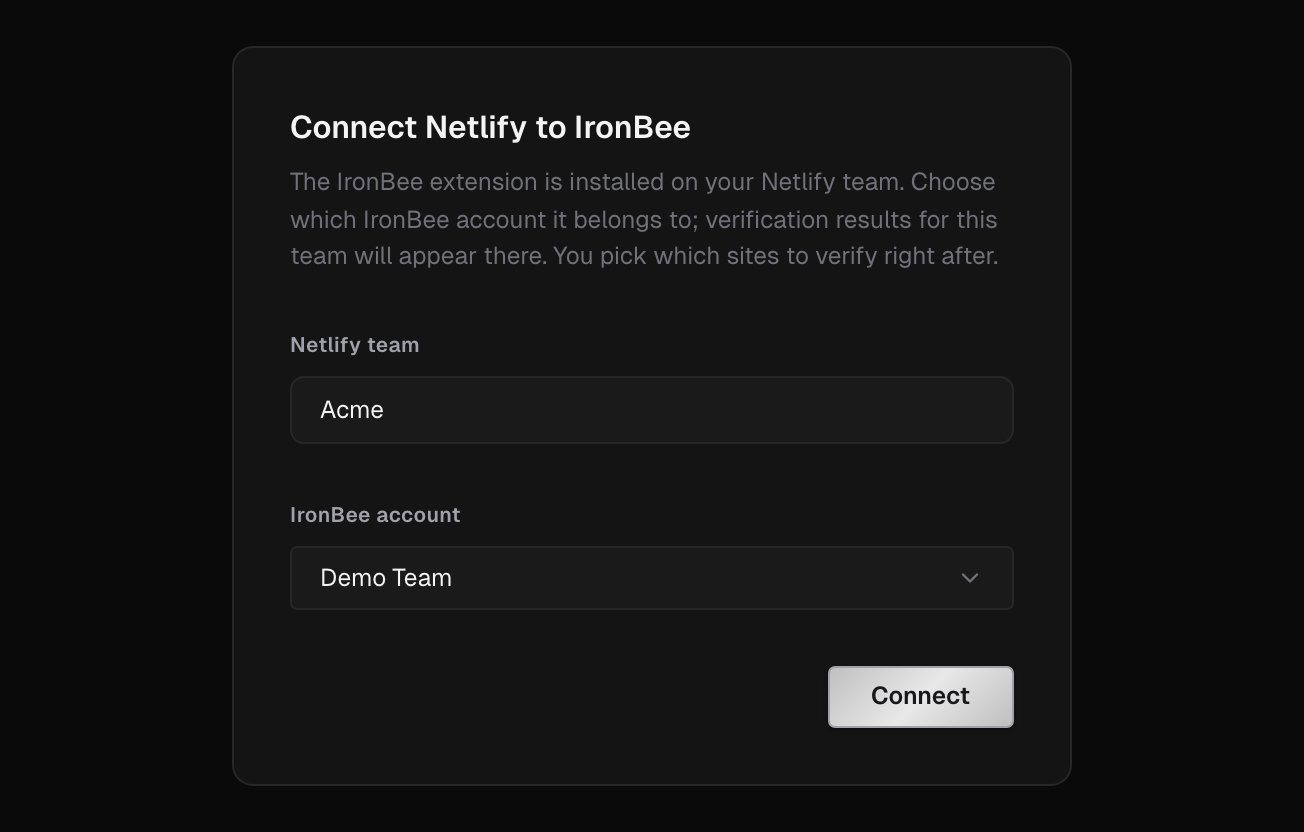
Only accounts where you hold the owner or admin role appear in the picker. A Netlify team can be connected to one IronBee account. If the link is no longer valid, click Connect to IronBee on Netlify again to get a fresh one.
Step 3: Turn on verification for a site
On Netlify, open the IronBee panel from a site’s menu and click Turn on verification. This does two things:- It creates the site’s deploy notification, which tells IronBee when a deploy goes live.
- It enables the site in IronBee as a project with the Web verification type.
Step 4: Install the GitHub App
The Netlify extension knows the deploy; the GitHub App knows the code behind it. With both, the run verifies the pull request’s changes, and the result also lands on the pull request. In Integrations, select GitHub and click Install the GitHub App. Then follow GitHub App.Preview access
Public previews need nothing. For protected previews:-
Password protection (Netlify Pro plan):
- In Netlify, set the site’s visibility to a password under Project configuration > General > Visitor access.
- In the IronBee Console, open the project and go to Settings > Secrets.
- Click New secret, choose the Password tab and enter the same password as the Site password.
-
Basic authentication: add an HTTP headers secret with an
Authorizationheader in the project’s Settings > Secrets. - Team login (SSO) can’t be bypassed. Use a password, Basic authentication or public previews.
What the extension uses its access for
The extension doesn’t change your builds. IronBee never stores a Netlify token.
How it runs
1
The deploy goes live
Netlify builds exactly as before. When a deploy in a selected context goes live, the deploy notification tells IronBee.
2
The change is verified
IronBee starts a verification run with the deploy URL and its Git metadata.
- The changeset: on a deploy preview, the run verifies the pull request’s full diff. On a branch deploy, the GitHub App finds the pull request behind the commit.
- The environment: the run is against the environment named after the deploy context:
deploy-preview,branch-deployorproduction. IronBee creates these automatically; their variables and secrets apply.
3
Watch it live, if you want
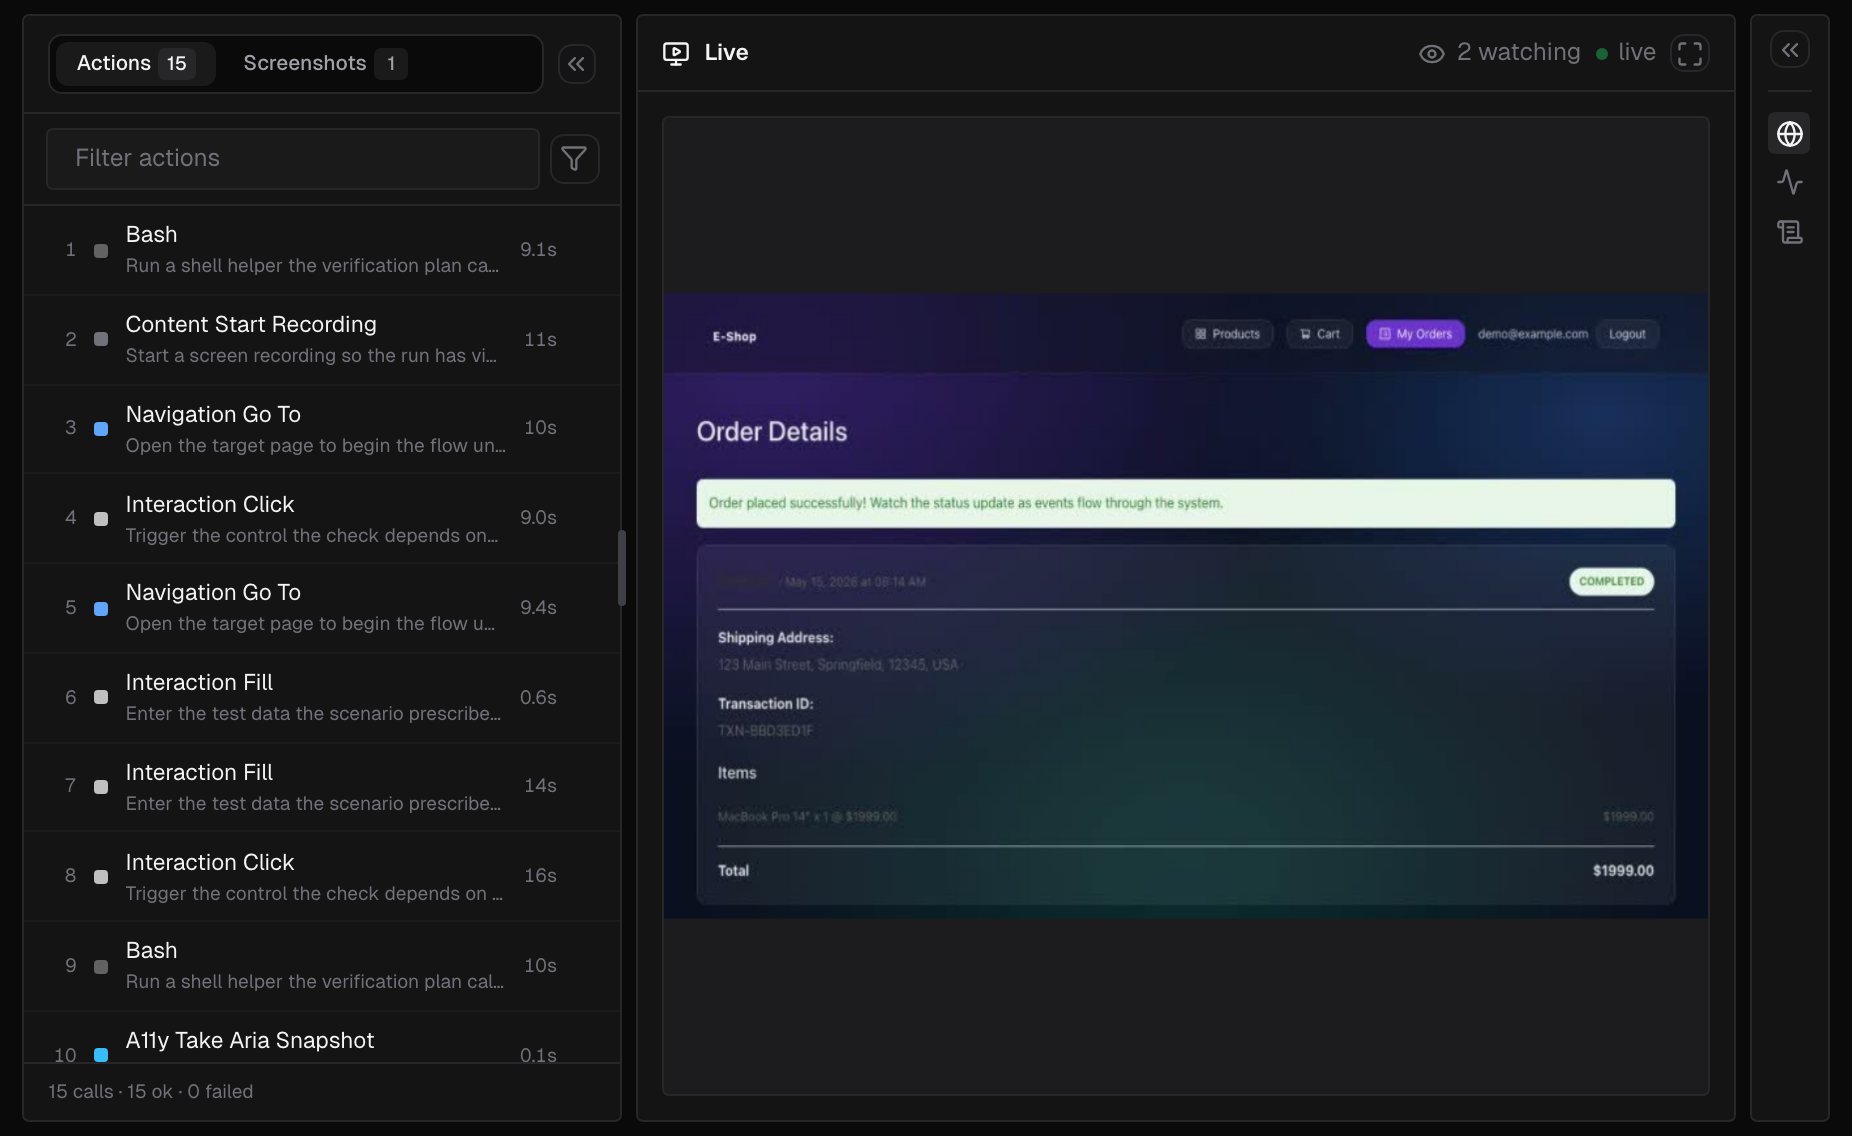
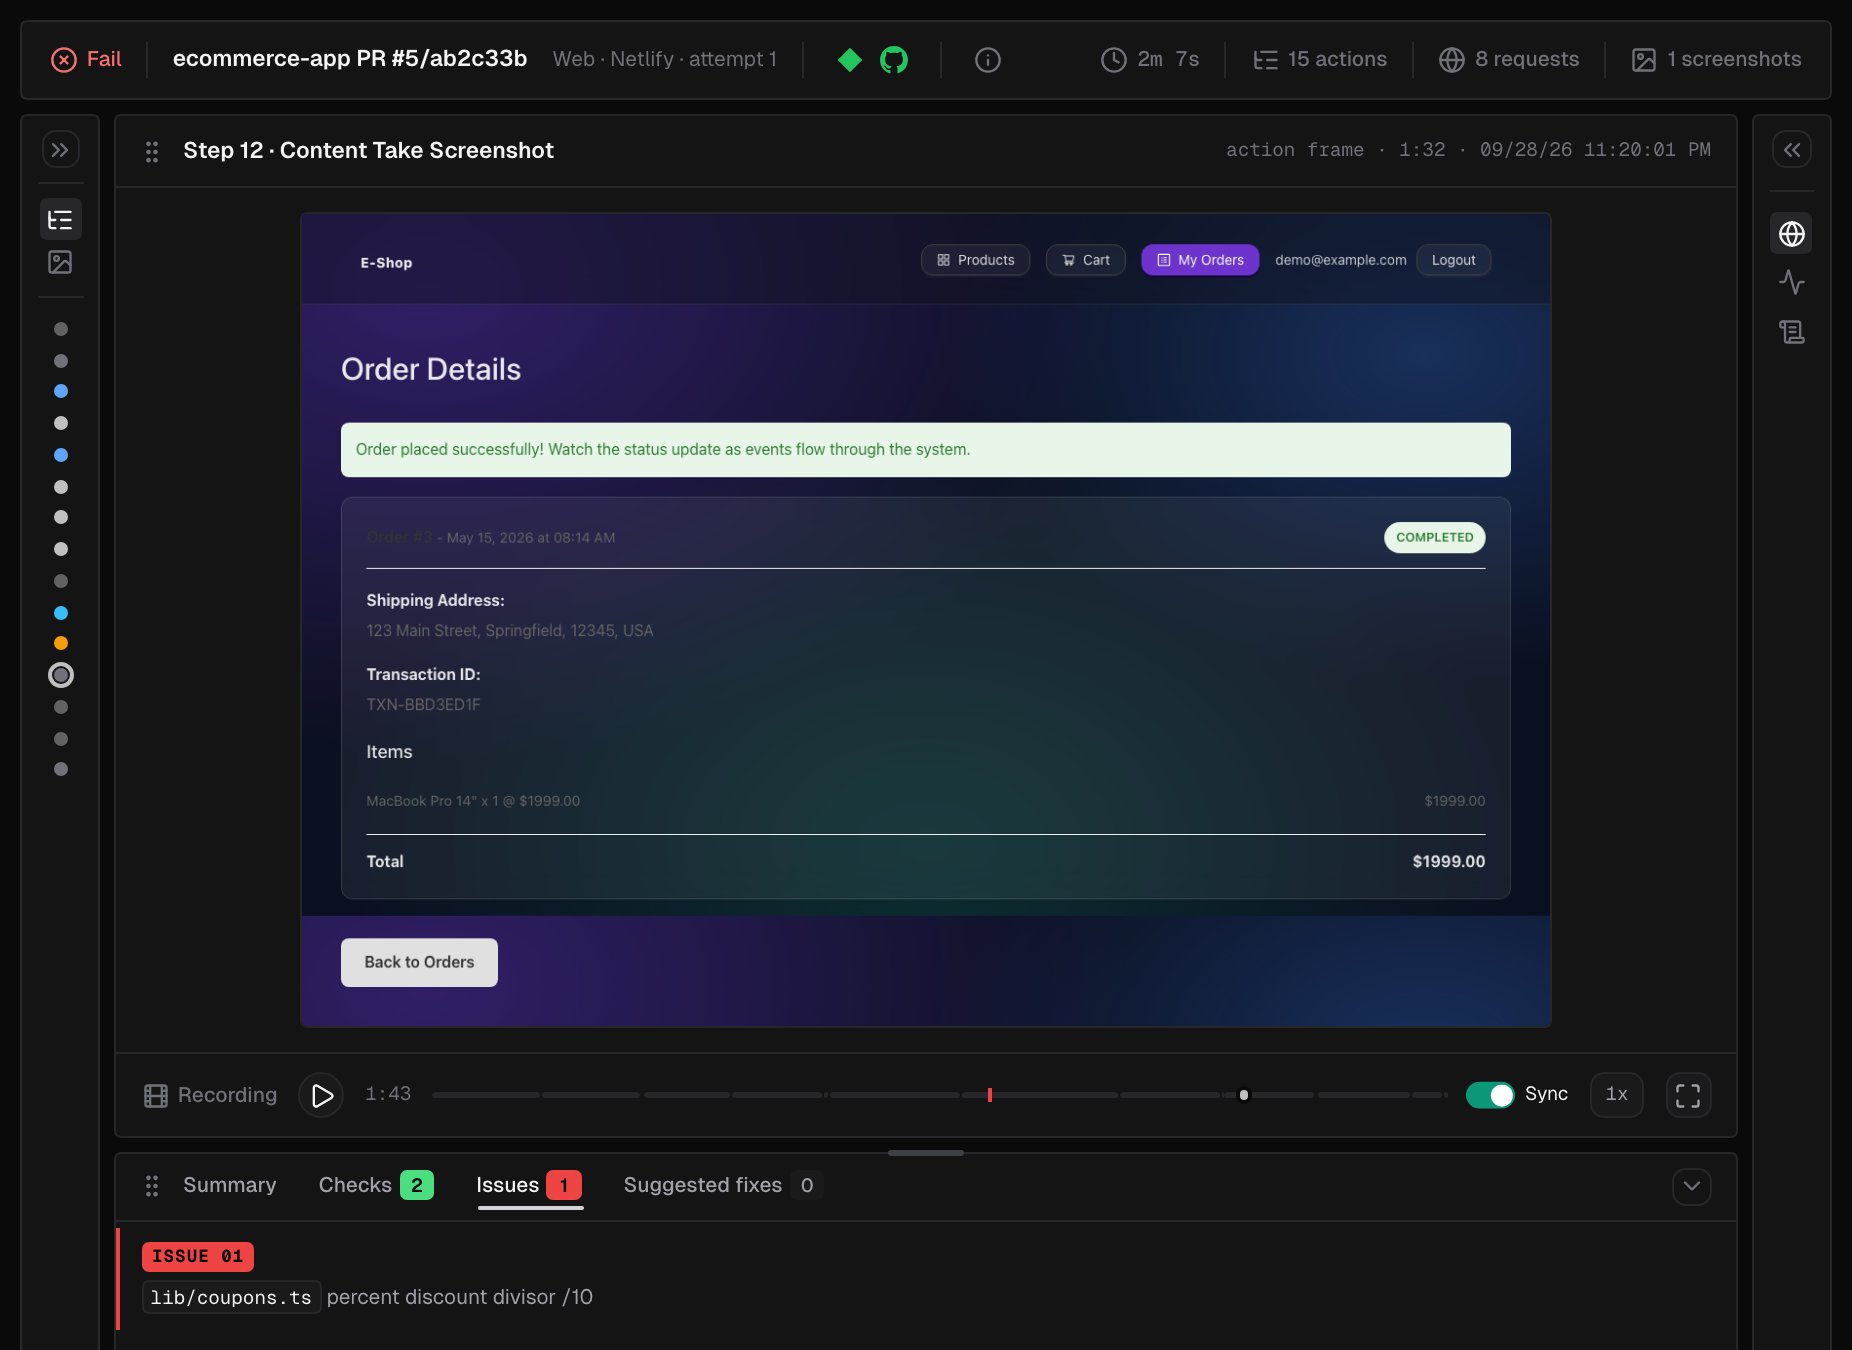
While a Web run is going, the run in the console streams live: every action as it executes, the browser view and the network requests. When it ends and its recording has uploaded, the recording replays the same workspace, action by action.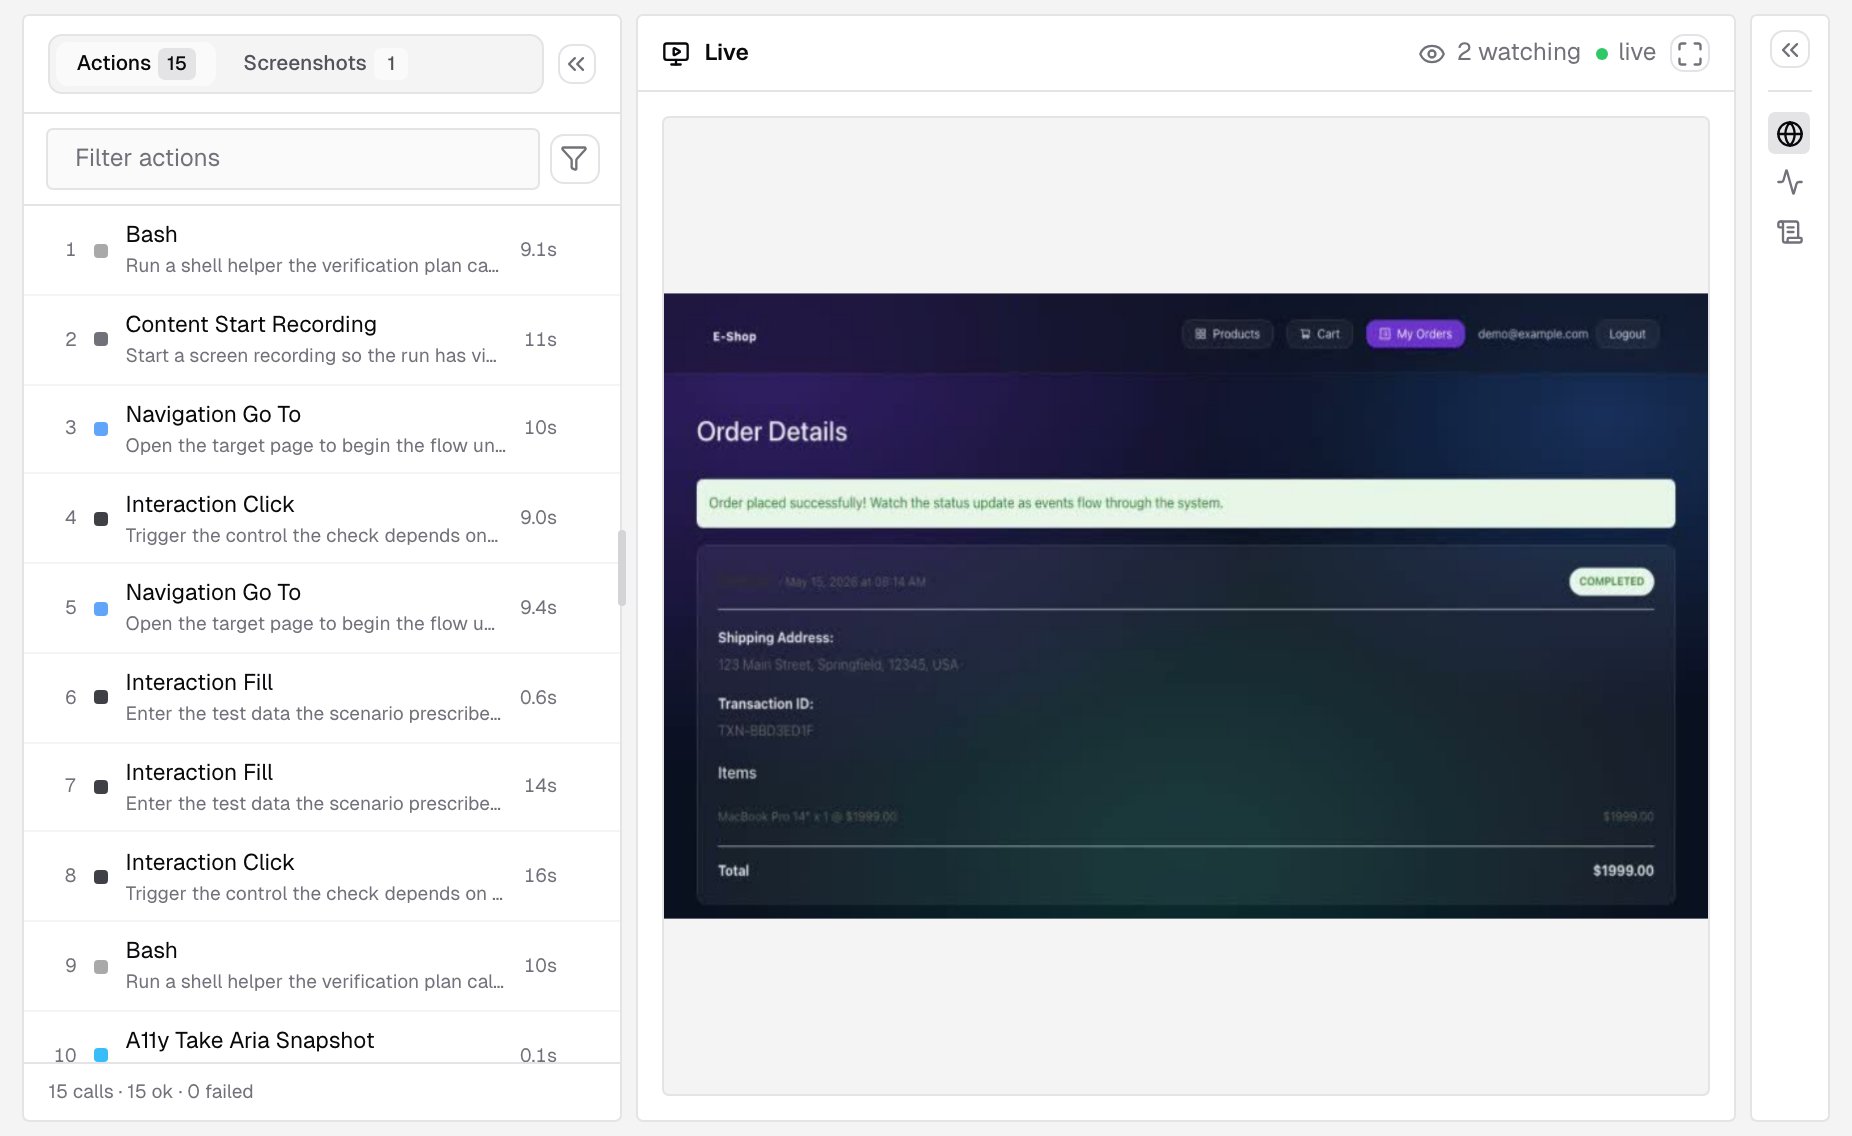
4
The result comes back to the deploy
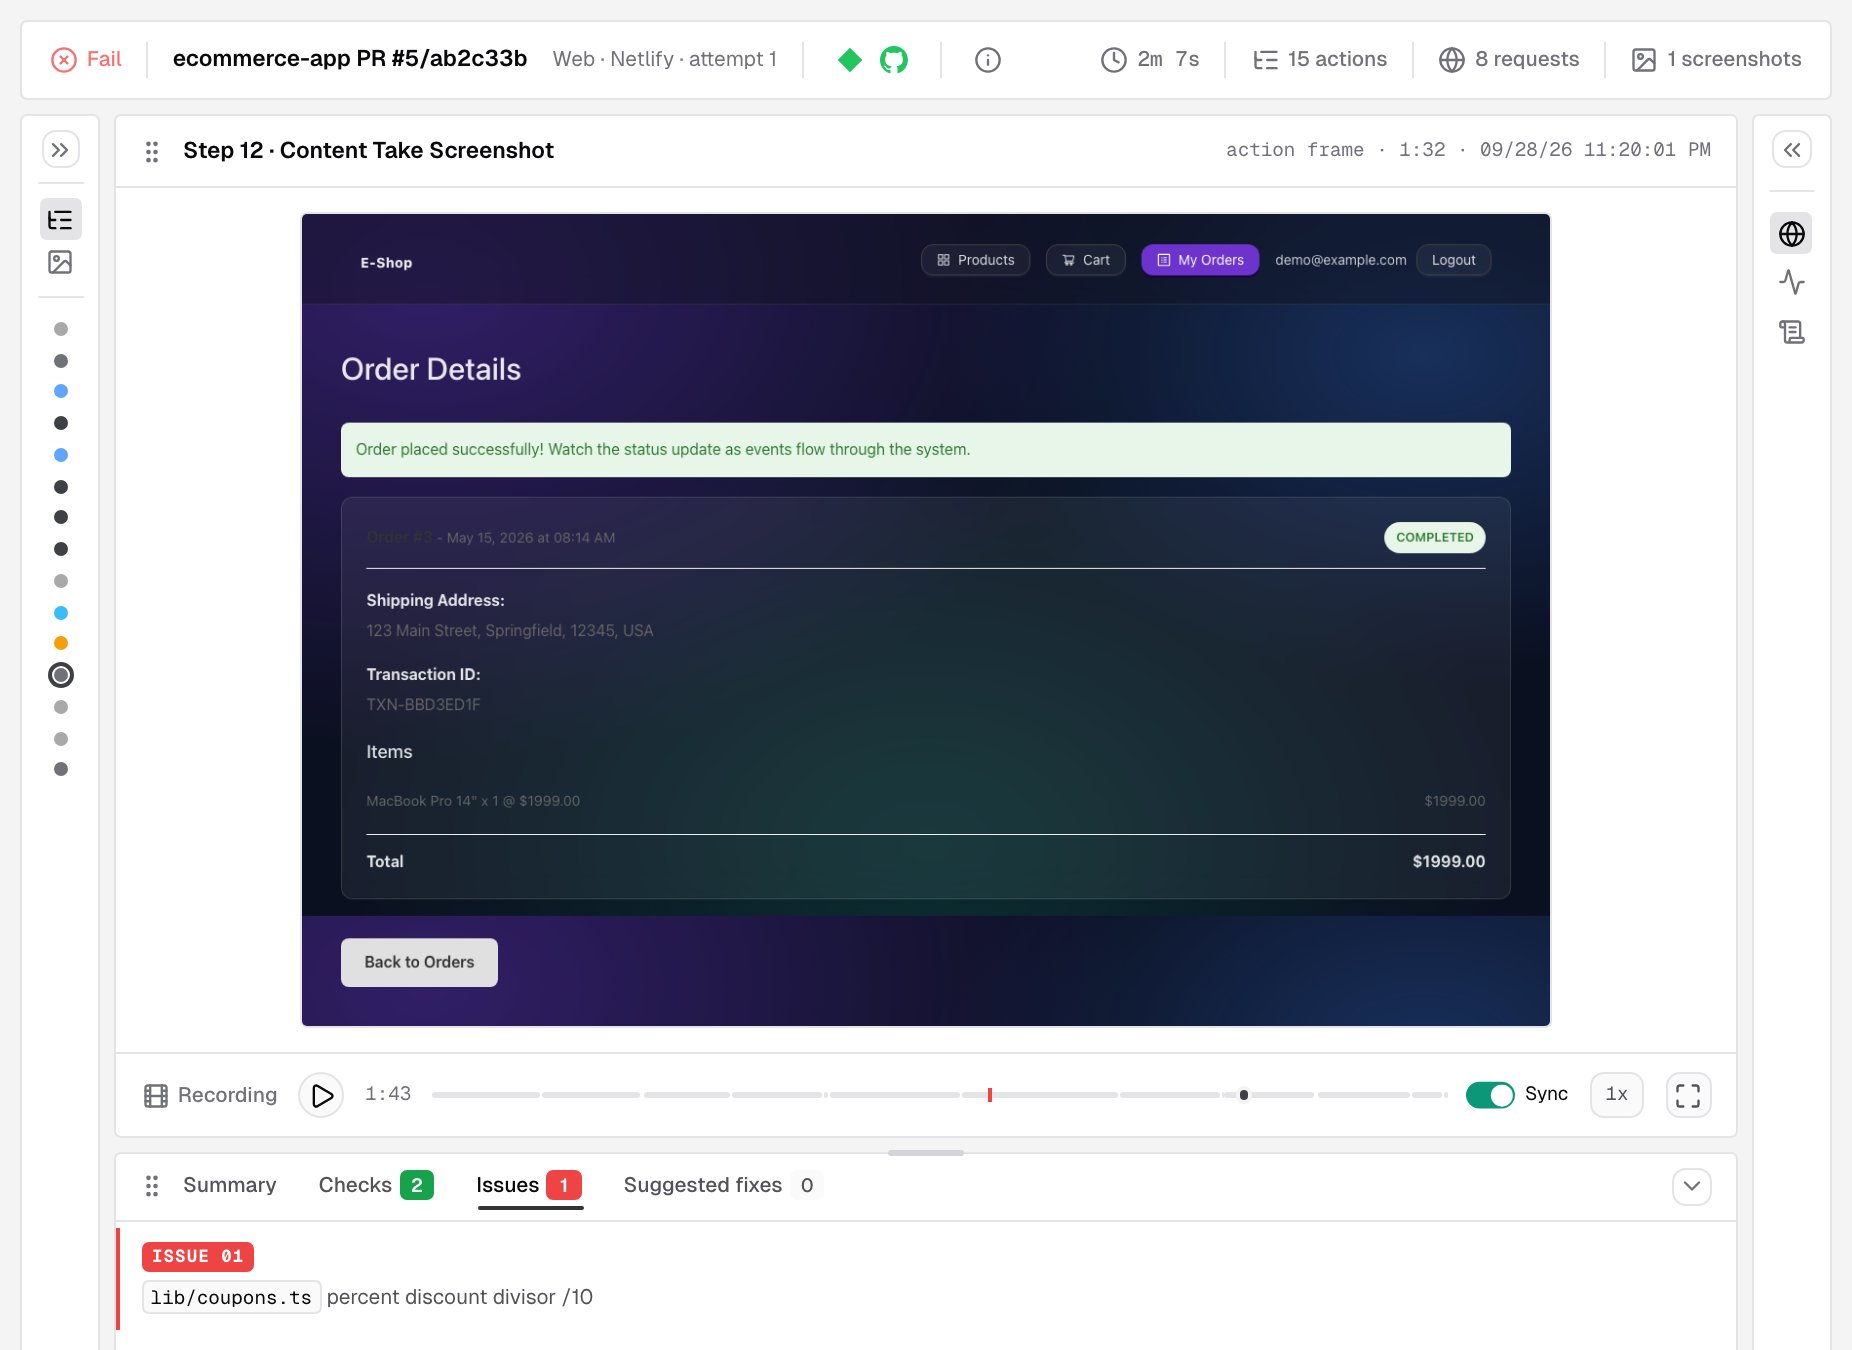
The deploy page shows the IronBee verification card with the result. With the GitHub App installed, the same result lands on the pull request as a check and a comment.
What you see on the deploy
The deploy page on Netlify gets an IronBee verification card. It shows one headline:
Below it are the summary, the Issues and View details in IronBee, which opens the full report in the console. The report has the actions, the recording synced to them, the network requests, traces and logs, and each issue with the evidence behind it and suggested fixes.
Scope
- Deploy previews and branch deploys by default. Production deploys are verified only on sites where you turned them on.
- Sites with verification on. Other sites are ignored.
- Once per deploy. Each deploy is verified once. To verify again, deploy again. Netlify doesn’t resend a notification IronBee missed.
- Non-blocking. The verification never holds up a deploy.
Managing the installation
On Netlify, the extension has two panels:- Team (Extensions > IronBee): the connection and the IronBee account the team reports to. Disconnect stops verification for every site on the team. The sites’ IronBee projects become Not active and keep their history. The deploy notifications IronBee created are removed on their next delivery.
- Site (from a site’s menu):
- Turn off verification
- Which deploys
- the health of the deploy notification. If Netlify paused it after repeated failures, click Resume notification. If it’s missing, turn verification off and on again.
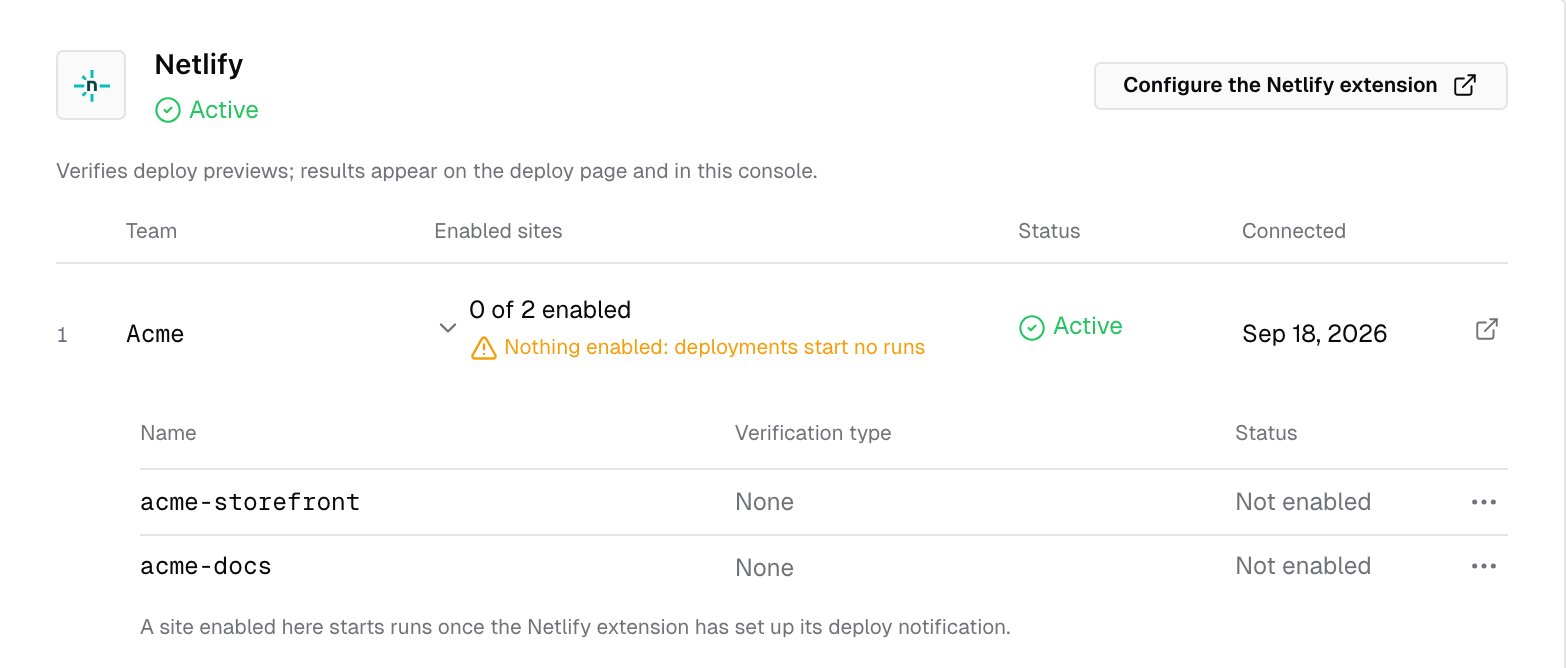
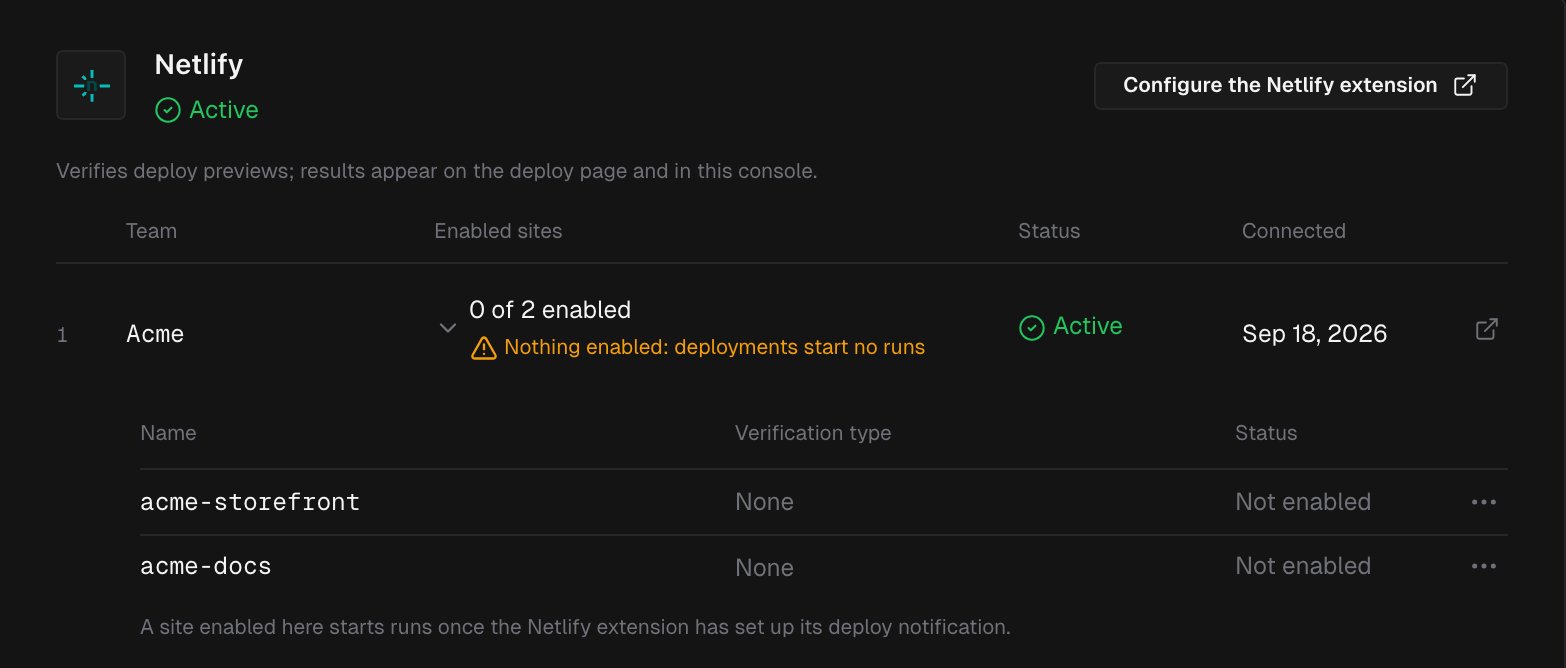
- Enable turns on verification for a site.
- Edit type changes its verification type.
- Disable stops verification and keeps the project’s history.
Troubleshooting
What’s next?

GitHub App
Repository access, the check on the commit, and the pull request comment.

Vercel
The same verification on Vercel preview deployments.